Bunkbed
BunkBed Build:
Our home has only 2 bedrooms, one of which, is occupied by our first son. With our second son on the way, we realized they would need to share one bedroom. Since it's a small room, a bunkbed would be the most efficient option.
We went to a variety of furniture stores, looking for a bunkbed that met certain criteria:
Needed to be well built <i.e. solid>.
Needed to be safe, and secure.
Allowed for a full-sized/full-figured<Me> adult to lay-down with no fear of collapse.
Preferably needed to be made of real wood, not that particle-board junk.
Decent price. <call me cheap>
Sadly many places had some scary bunk-beds; very flimsy, poor materials, etc.
We found a store that specialized in children's furniture, but the bunkbed that matched all of my requirements, costed close to two-grand!
Given what goes into making a bunkbed, I settled on just making one myself.
First things first:

I'm not really much of a fan of all the crazy miter-joints, or fancy-woodworking approaches; I'd rather make stuff that's solid, and practical. <Call it utilitarian >
In order to make this safe and secure, I decided that this design would be bolted to the wall, at both beds. This way, if the kids were on top, jumping around, there's almost zero-chance of the bed tipping over.
In order to use lag-bolts/screws, I needed to find all of the studs in the wall. I used a stud-finder, but kept getting weird readings. I decided to mark where the stud-finder found "studs", then do a little "exploratory-surgery".
You can see the cuts I made into the wall. This guaranteed I was hitting studs.

I settled on building everything with big-box-store materials; such as 2x4, 2x6, 2x8's, plywood, etc.
Firt order of business is to sand it all down, then round-over all of the edges; no splinters here.

The top bunk is built around a 4x8 box/frame; with a few, equally spaced, stretchers.
I wrapped two-faces with some 1x6; to hold the mattress in place. <The other faces will be wall-facing.>
Bolting it together:
Once the frames were built, and the studs were located; it was time to bolt them to the wall. I used a variety of scrap-wood and clamps to help hold things, in place, which attaching.

|

|

|
Nearing the finish line:

After the frame was up, it was then a matter of just adding some safety-rails, on top.
Not Pictured the top-bunk. had a sheet of 1/2" plywood put-down, before the mattres was dropped in place. I wanted a solid peice, so that "little feet" couldn't push up into the upper-mattress.

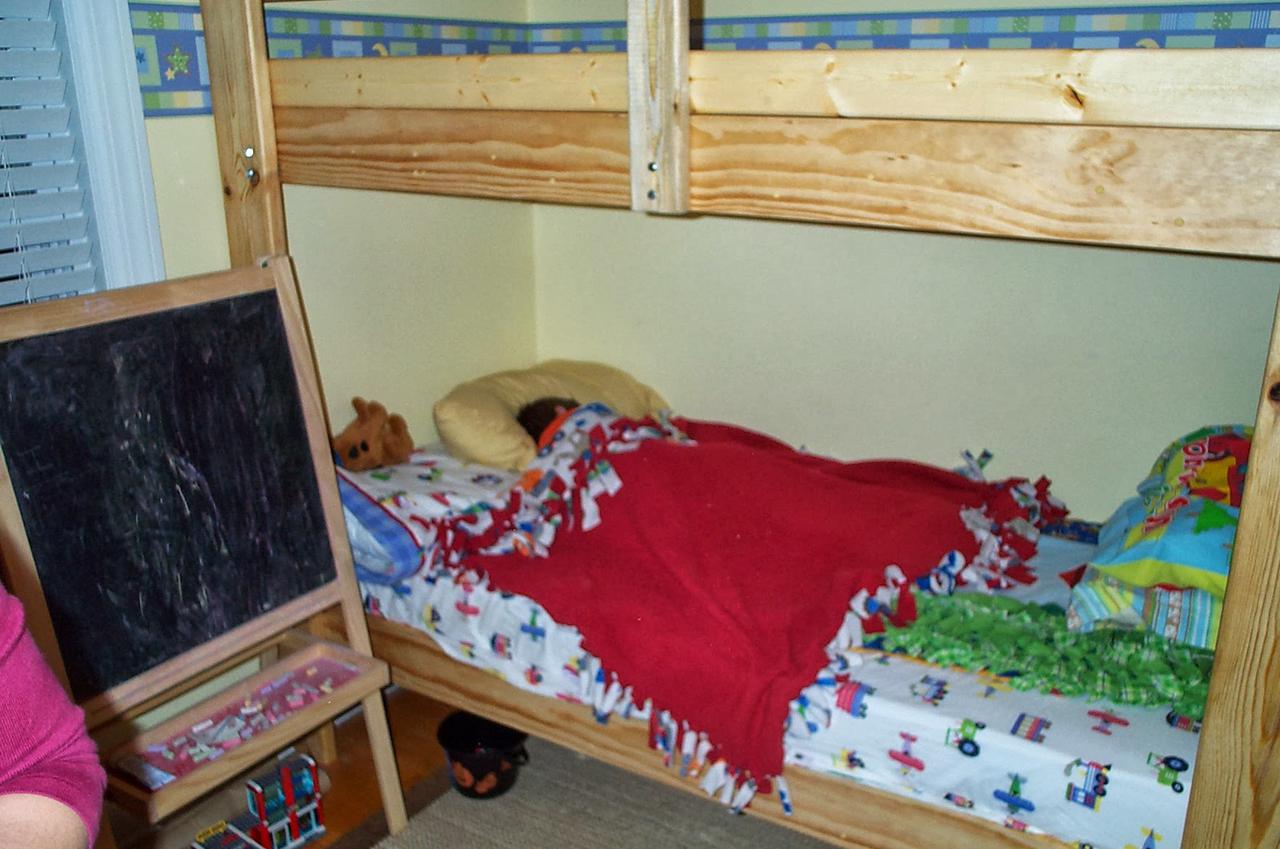
The bottom bunk, had 1x4 slats, equally spaced and screwed down.
The finished Product:

|

|
This was a fairly quick project; I think it took me about two-weeknds to finish. Mostly waiting on the varnish to dry.
My son can be seeing taking the bed for a test drive. :)
Obviously the ladder is missing. I did fabricate one, using 2x4's. It wasn't anything pretty.
Comments