Contractor Saw Table
This is a slight older project; not going to go into great details over it. I suspect the pictures will be more than enough.
Of course the question is why did I build it?
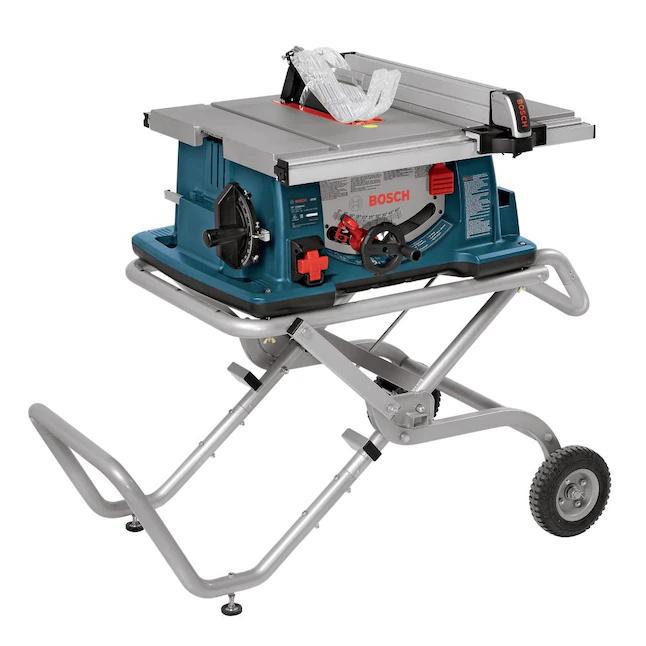
I bought the "Bosch 4100", years ago; due to getting tired of using either a jig-saw, or a hand-circular-saw. I could never get accurate enough cuts; and frankly when I really needed a tablesaw, I got tired of begging my neighbor, to cut some stuff for me.
The Bosch 4100 is a contractor-saw, it's meant to be used on a jobsite; so it's portable. Because it's a jobsite saw, dust-collection isn't as big of a deal. Sadly in my tiny shop, dust goes everywhere, and I'm working harder to preserve my eyesight, hearing <what's left of it>, and lungs.
Each time I used this saw; I was usually left with a square sawdust-spot underneath. I added a shopvac to the back port, and that helped somewhat, however I was still left with a dusty atmosphere.
Additionally the stand left much to be desired; no storage and a tripping hazard.
A decision made for me
One day, my youngest was in the shop, with me. He was standing with his back to the saw, and he stepped backwards into it. His legs made contact with the protruding horizontal-bar, and he fell backwards. By a miracle, he didn't hit his head on the saw, but curled up and landed on his behind and sort of rolled underneath the saw. I was terrified, but thankfully he was okay.
At that very moment I decided I needed to get rid of that F*&#@$?*-stand.
Several things I needed to consider:
Somewhat simple design; so a box.
On casters; so it's really maneuverable.
Some sort of dust-collection underneath. <remember the square sawdust spot>
Storage.
Basic Design:
Dust Collection:

|

|

|

|
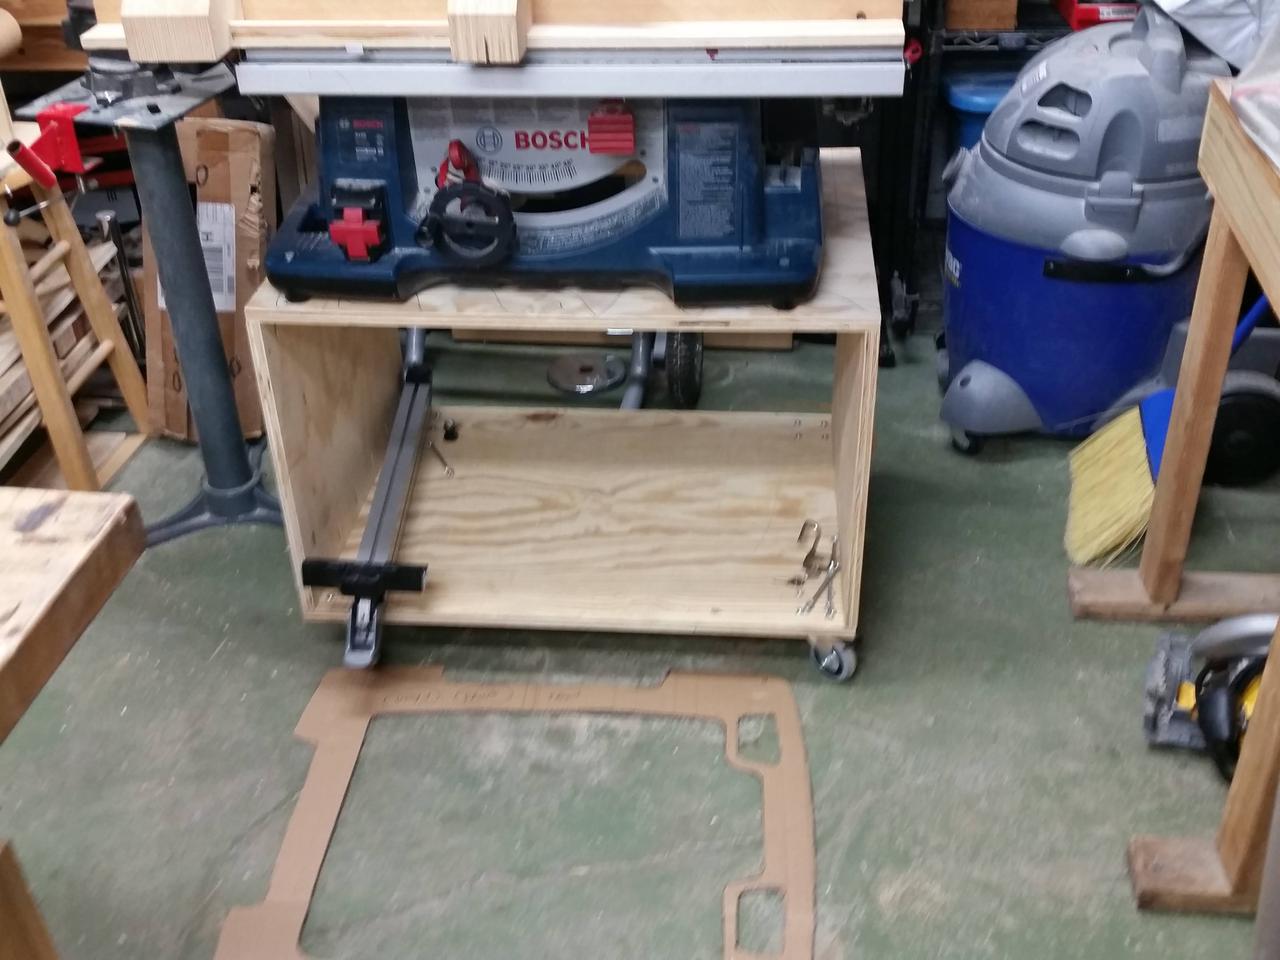
Using cardboard, I made a pyramid-like mockup, of the dust-collection chute.
Once I had the desired shape, 1/8" birch-plywood was used to construct the chute. I used JB-Weld to hold the works together. I was shocked how strong this structure was; though I'm not brave enough to stand on it. :)

|

|

|

|

|
I used, yet more, cardboard to trace the underside of the saw. This gave me a rough idea of how to cut the hole on top of the cabinet.
Storage:

|

|

|
No magic-here; storage is just a bunch of butt-joint drawers; made from 3/4 plywood, and some drawer-slides.

|

|

|

|
I did have a leftover vertical space; so I decided to get creative. I turned and knurled a piece of aluminium, on the lathe and made a pair of standoffs, to hold the saw-blades.
Now, everything has a place.
|
|

|
Comments