BBQ Grill rebuild

I received this grill, as a Father's Day Gift, from my lovely wife. We got many years use out of it, but it started rusting out.

Sadly it appears most of these grills don't last forever. I'm really disappointed in how thin the metal is in these units.
For the most-part, the stand, and top-lid were still in excellent condition. Rather than spend more money on yet another grill, that'll only last a few years, I decided to try my hand at building one from scratch. Of course in my version, the metal would be much thicker. :)
I went to my favorite metal supplier, MidWest Steel Supply Initially I wanted to go with 1/2"-thick steel, but I'd end up with an insanely heavy bbq; plus the cost and shipping would be way up there.
I settled on 3/16 x 4 hot-rolled steel.

|

|

|
This need for re-enforcement:
After I started welding; I noted that the pieces started to bow. Adding some re-enforcement, using angle-iron, would help straighten and strenghten them, without increasing the weight too much.

|

|

|
Joining the whole mess together:
Once I had the pieces re-enforced, it was a matter of tacking/joining them togther. Gorilla-tape is great to temporarily hold things together, especially when they need to be curved.

|

|

|

|

|
Needed something to hold the charcoal:
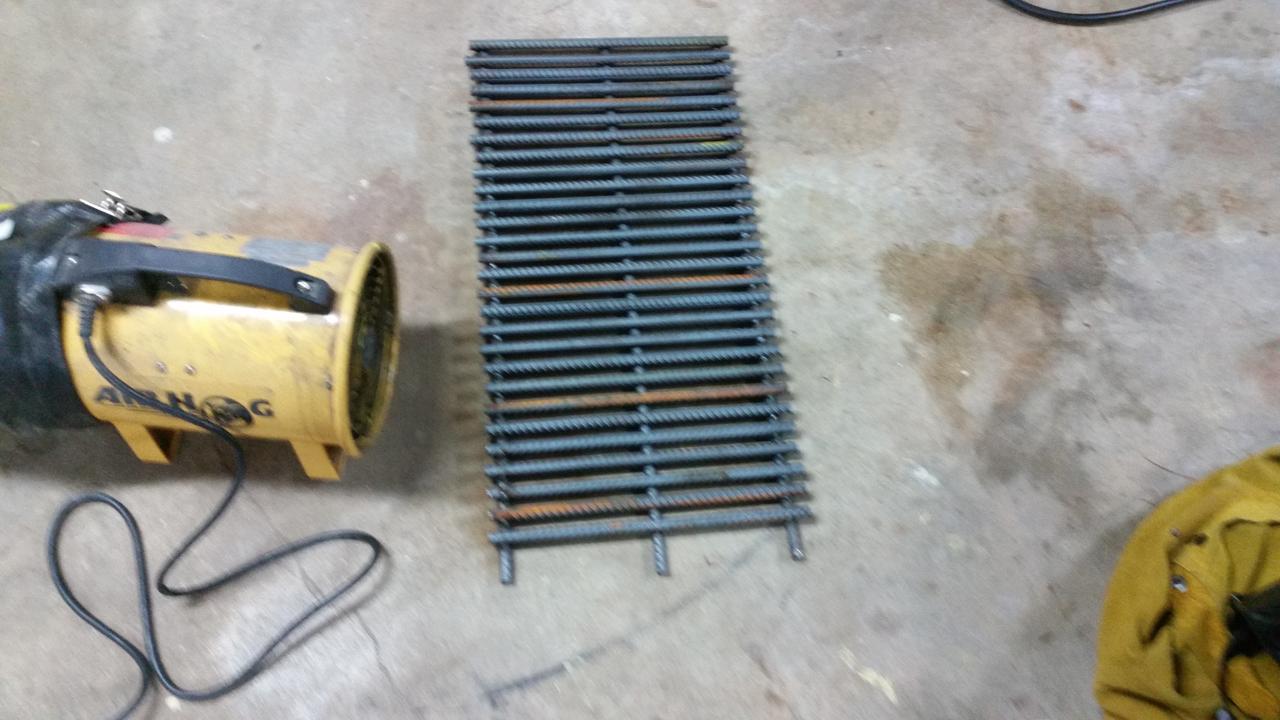
One part, that was always made flimsy, was the grating that held the hot-coals under the food. Because they are made of thin-metal, they generally warped and rusted away rather quckly. I needed something cheap and readily available; rebar might be the answer. <I must apologize for the blurry images; but it gets my point across.>

|

|

|

|

|
Grinding... Grinding... Grinding....
Probably the least favorite part of this project. Imagine it's 90+ degrees outside, and you're wearing a cowhide-welding-jacket, a respirator, hearing-protection, and a full-face-shield; in an un-airconditioned garage. Living the dream :)
This part took several hours and several flap-disk changes. In the end it looked pretty nice.

|

|

|

|
Needing to breath....
Making the vent wasn't too hard, just tedious. I used a sharpie and the vent-damper, as a template. From there, it was a matter of drilling a few starter-holes, jig-sawing the rough-shape; and finally filing. A LOT OF FILING.

|

|

|

|

|

|
Finishing touches
Once everything was grinded down, all surfaces were wiped with acetone, and coated with high-temperature paint.
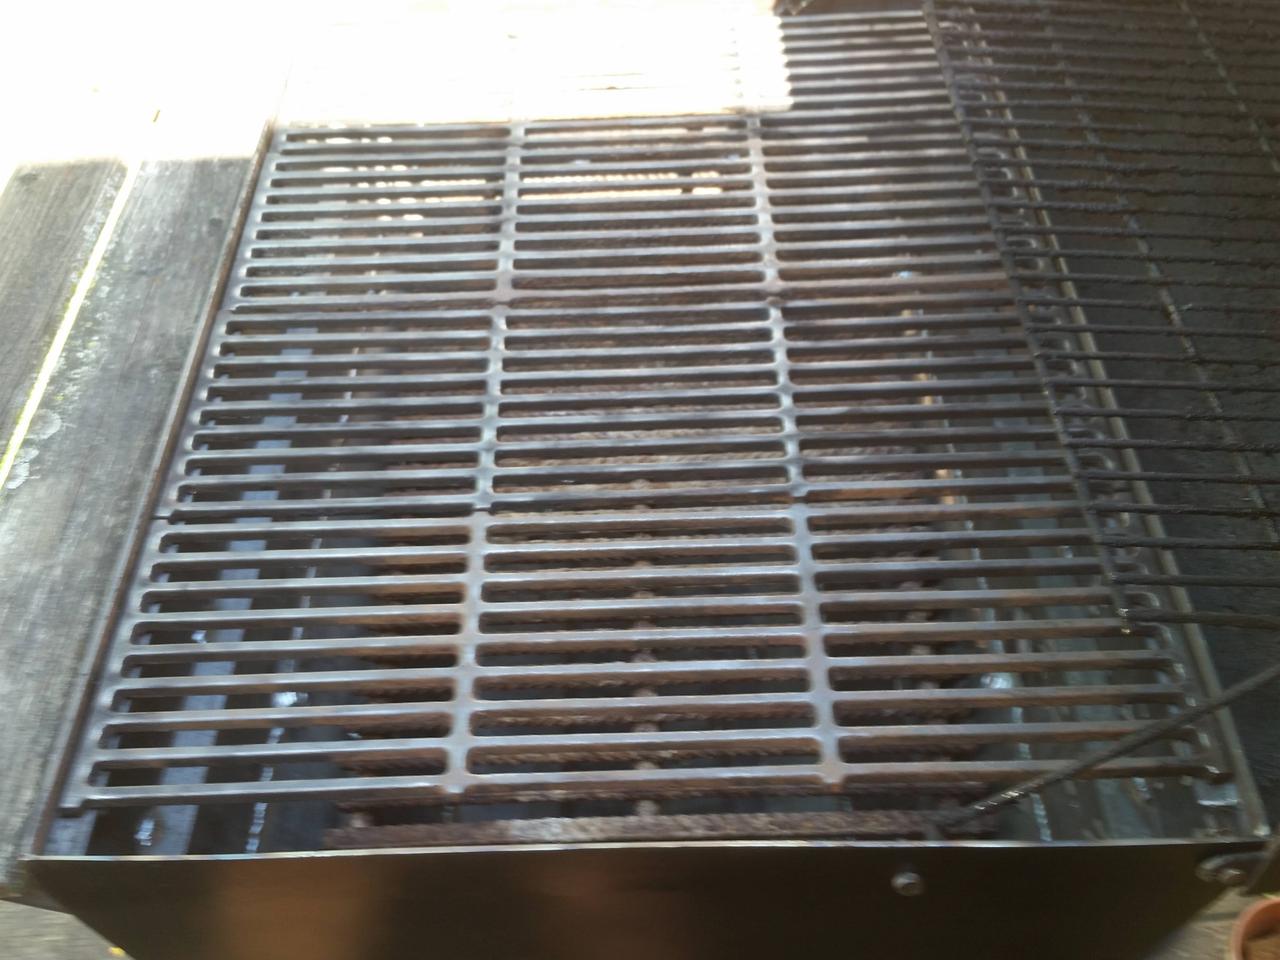
I took the time to wire-wheel the crud off the cooking-gratings.
Then started assembly.

|

|

|

|

|

|

|
LET'S EAT!!!
This project took several weeks, to do, but in the end it turned out better than I expected.
This project was completed in the summer of 2020; and so far the entire structure is standing strong. The nice thing about the thicker metal is, once a part starts to rust out, I should be able to cut it out, and weld a new peice in place.

|

|
Comments