Thien Baffle Mini Dust Collector
What's a Thien Baffle?
A Thien baffle is somewhat similar to a cyclonic-separator. Think dyson-vacuum-cleaners. Said separator is named after Phil Thein , who invented said design, back in 2007.
In a nutshell, you have dusty/dirty air travel into a cylindrical-structure. Inertia keeps the air-moving in a straight-line, which causes it to strike the inner wall, of the cylinder. As long as the airflow is moving, the air will spiral around, like a miniature tornado. Everytime dust-particles hit the wall, friction and gravity cause them to fall downwards.
A conical-cyclone separator reduces the inner-wall, as the particles move further down. A Thien-baffle, has a constant-wall diameter going all the way down; so in theory it isn't as efficient. The nice thing about a Thien-baffle, is the fact that it can be made shorter, that it's cyclonic-cousin.
Why build one?
Since I do a ton of building/making, especially with wood, I make heavy use of a shopvac. One problem with tablesaws and shopvacs is the fact that they clog-up rather quickly. I've found I've had to clean out the internal filter on a weekly basis.
With a cyclonic/thien separator, a bulk of the heavier/larger dust particles move to the bottom of the container. The smaller particles get trapped in a regular dust-filter.
Where to begin?
I have a larger shopvac already attached to my table-saw; and later upgraded to a horrible-fright dust collector.
My smaller-shopvac, is used for general-purpose cleanup, so I figured it could be the guinea-pig If it works out, I could always make a bigger-unit with my dust-collector, <stay tuned for a future project>.
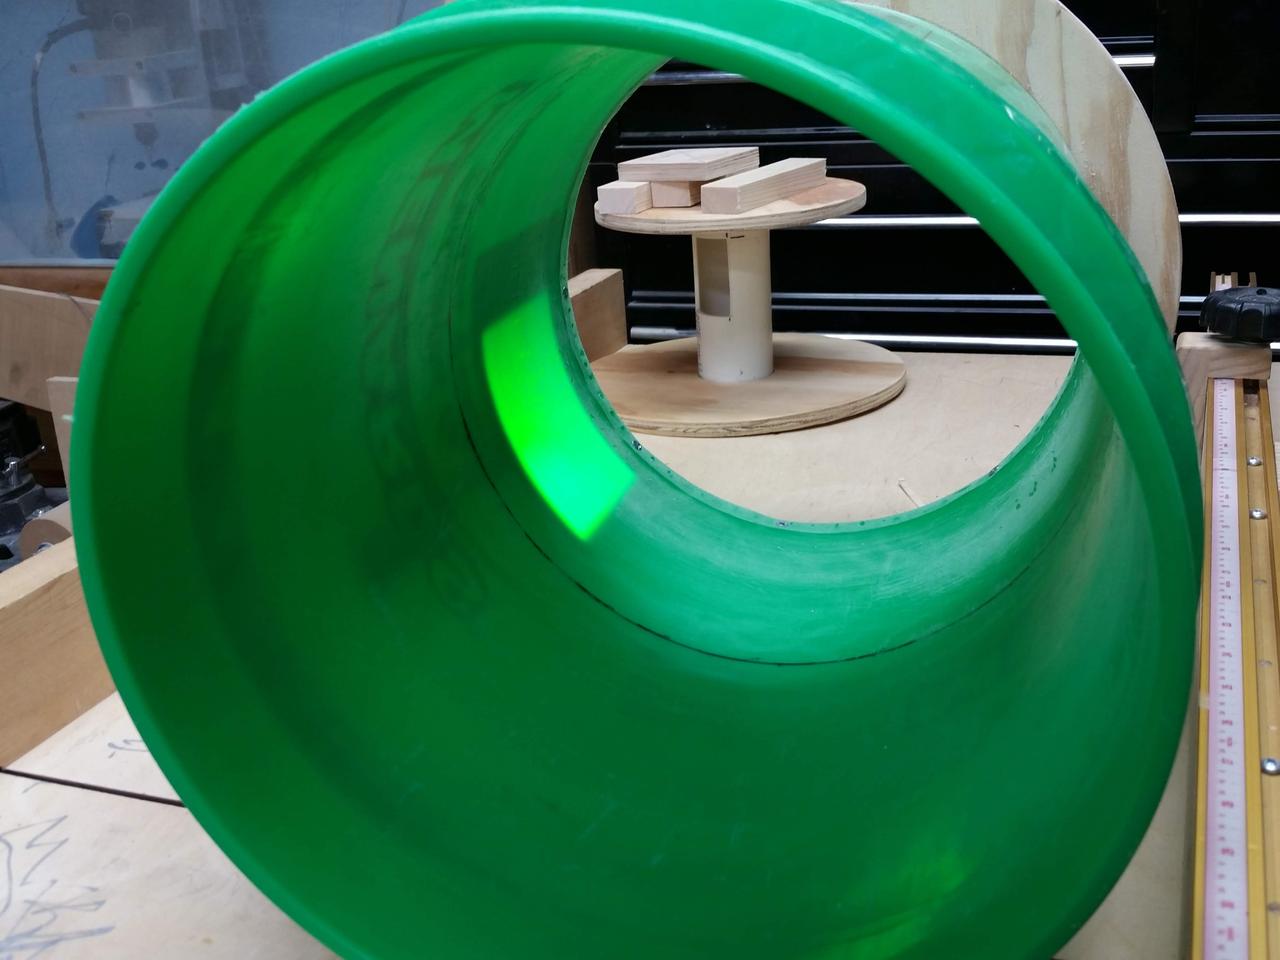
Cutaway view of (overall) inner-workings:
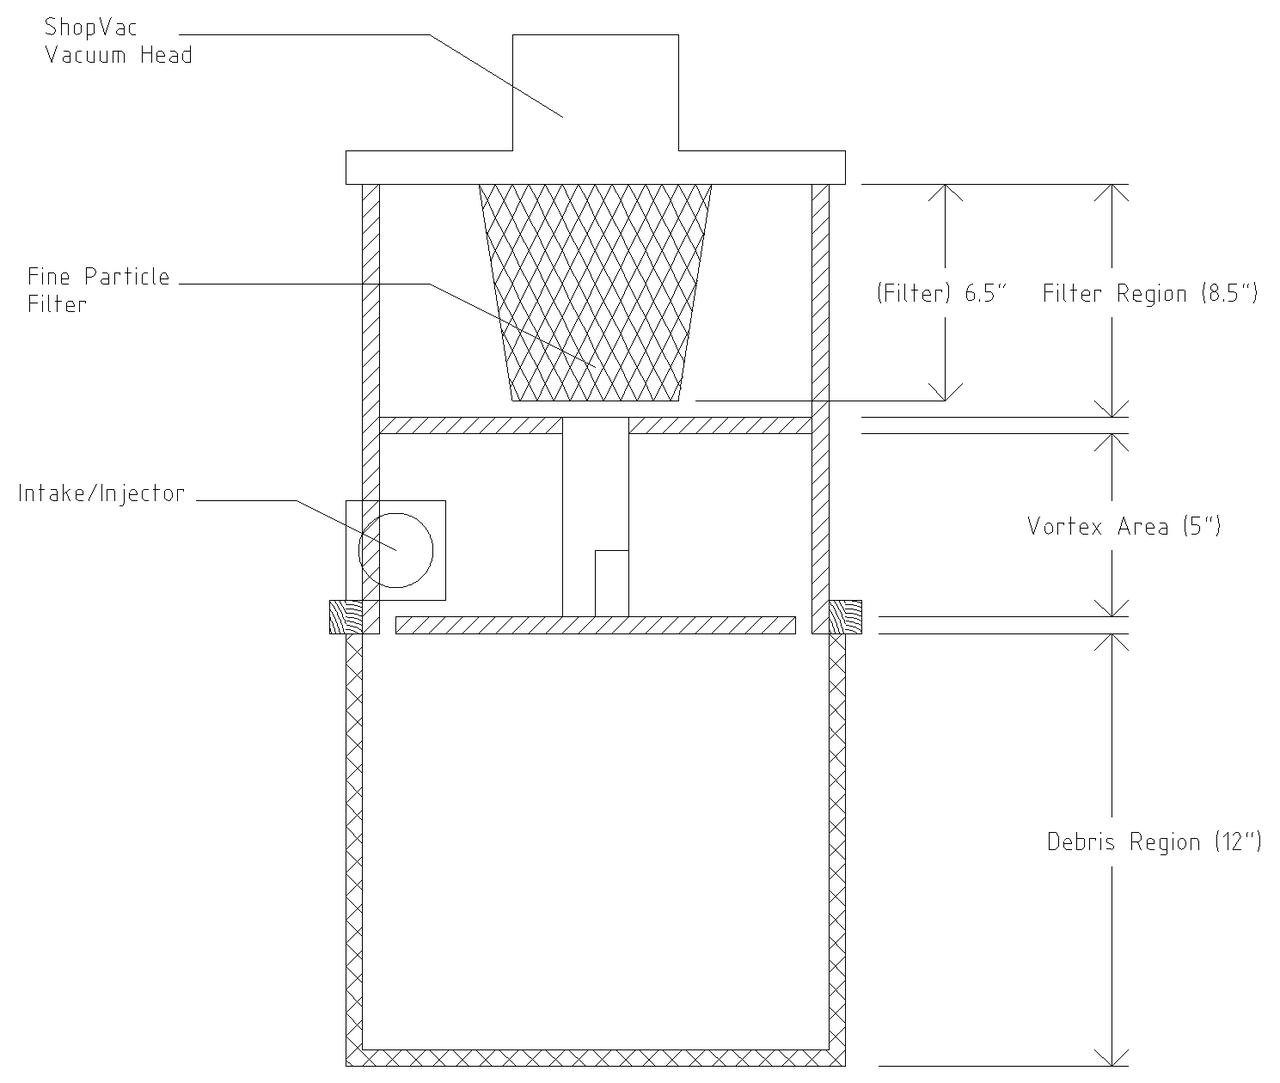
Cylindrical Wall and Baffle
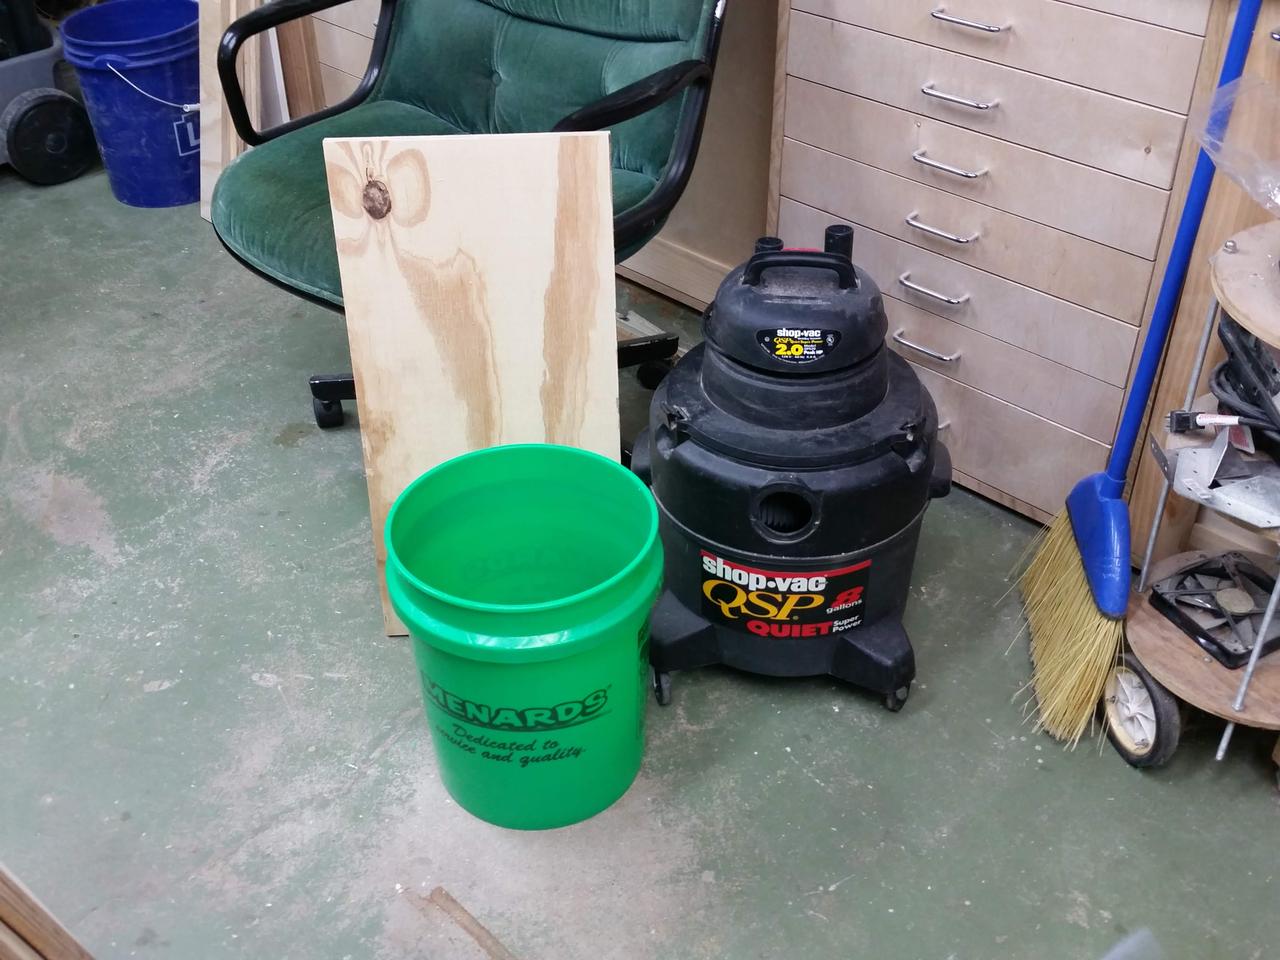
- This basic components of this project:
sacrificial shop-vac
plywood (for the baffles and injector assembly)
bucket
pvc pipe (not pictured)
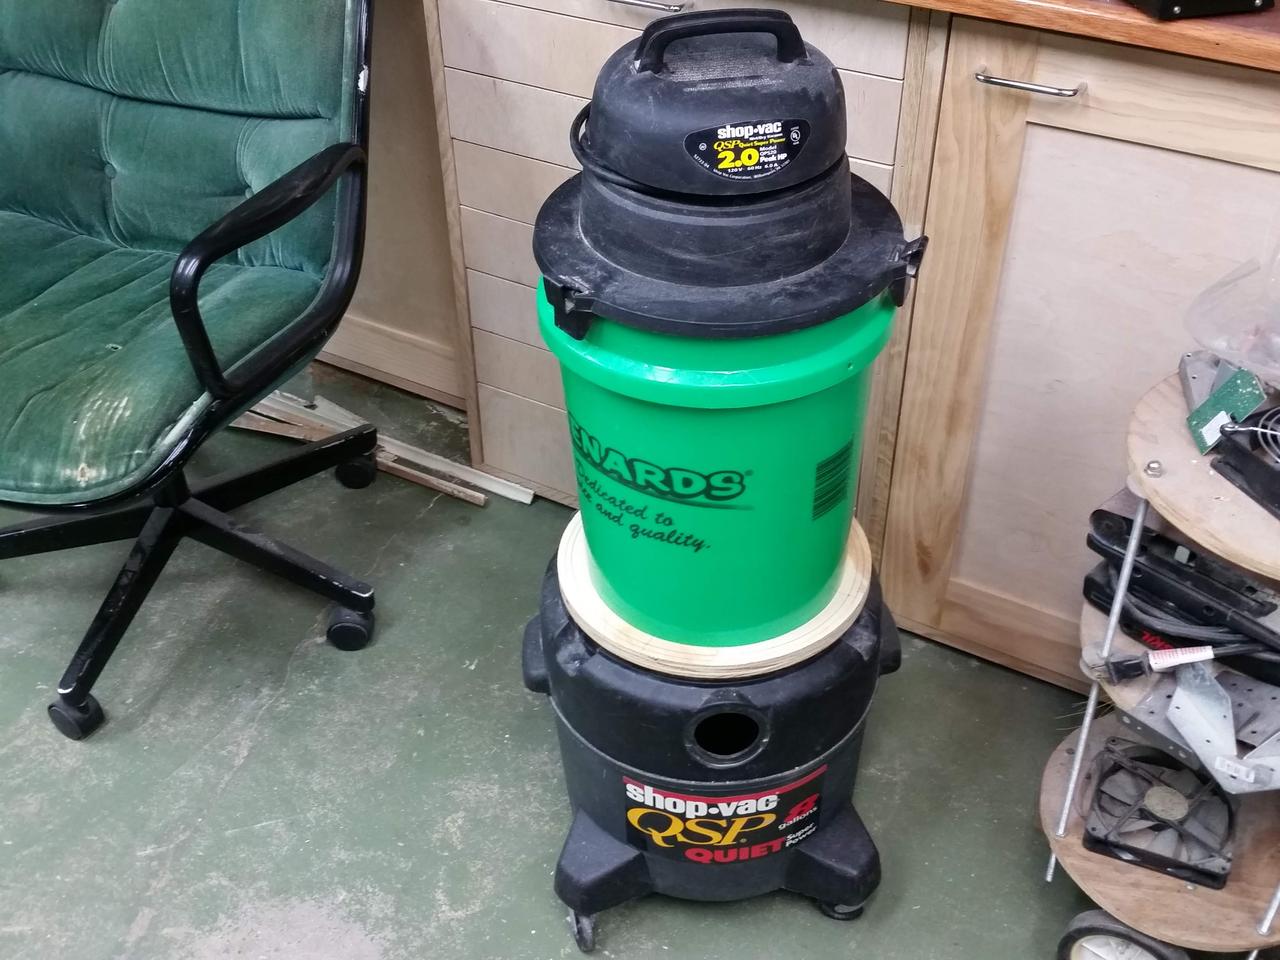
As it turned out, I lucked out when starting this project. My shop-vac top, fit perfectly, on-top of a regular 5-gallon bucket.
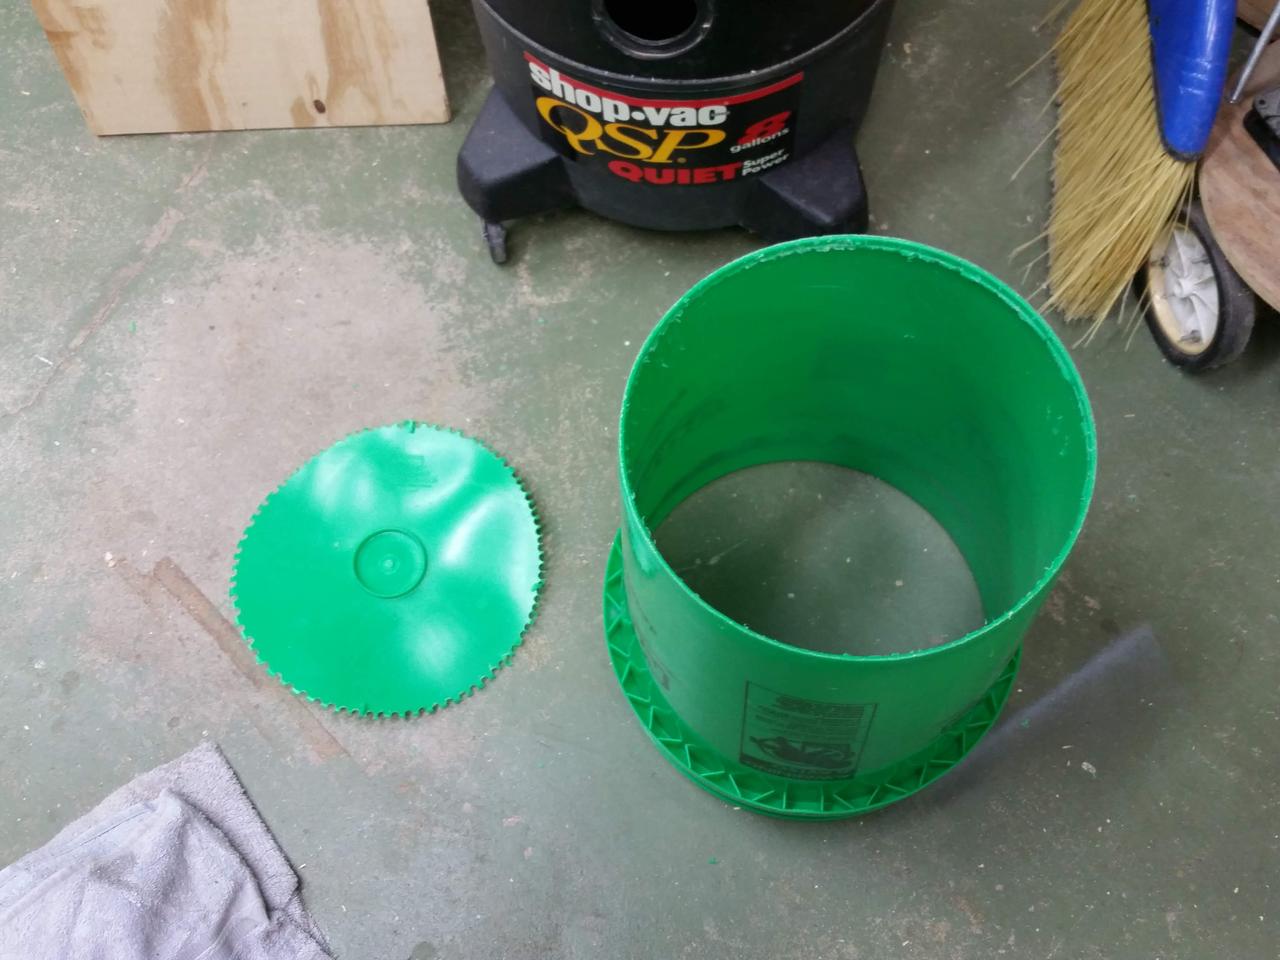
This first step was to remove the bottom of the bucket. I'm only interested in the cylindrical-walls. Easiest way was to drill a ton of holes, then use a pair of cutters to remove. A bit of filing and sanding and all is good.
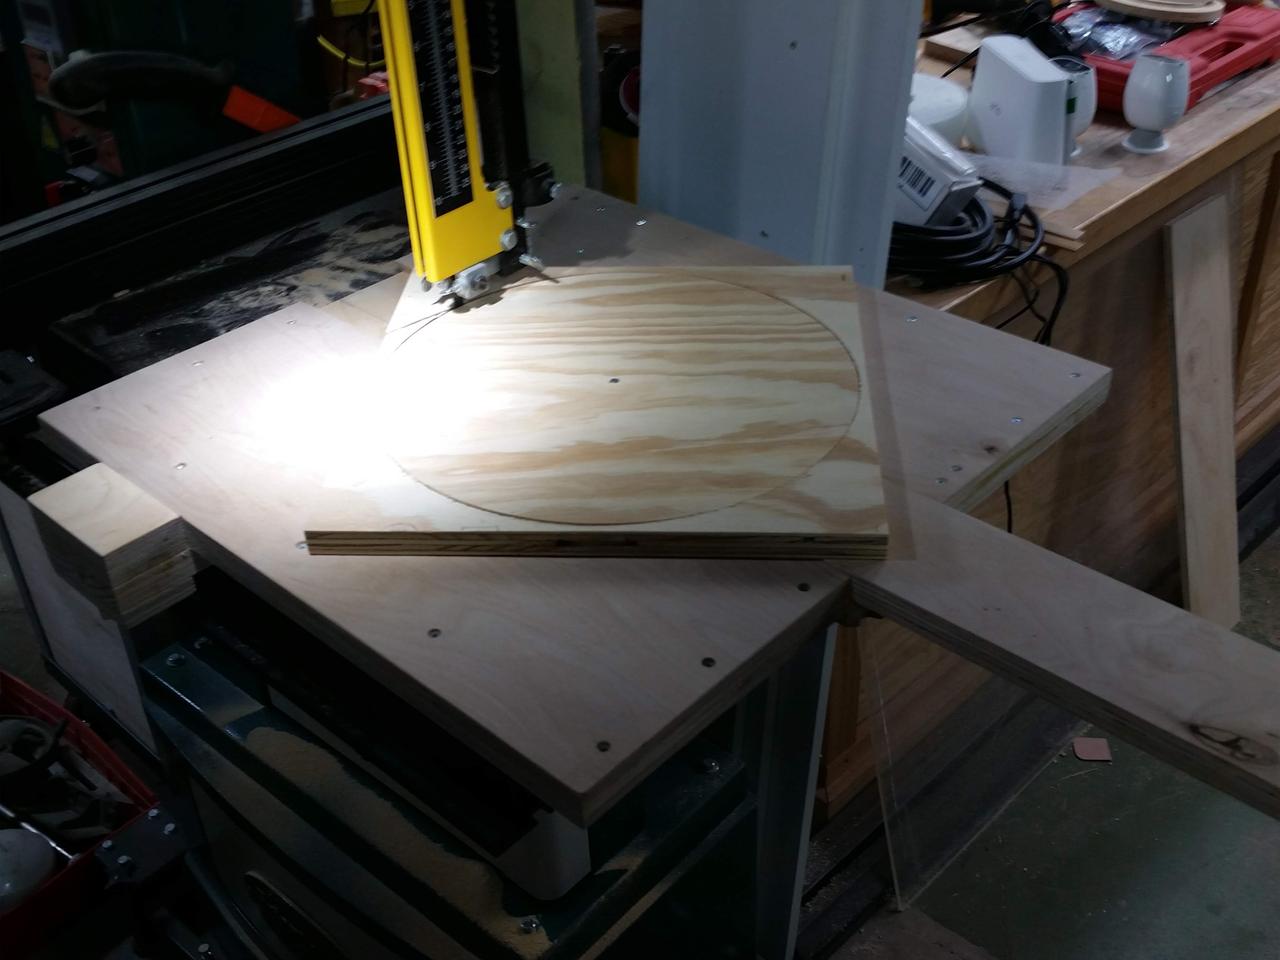
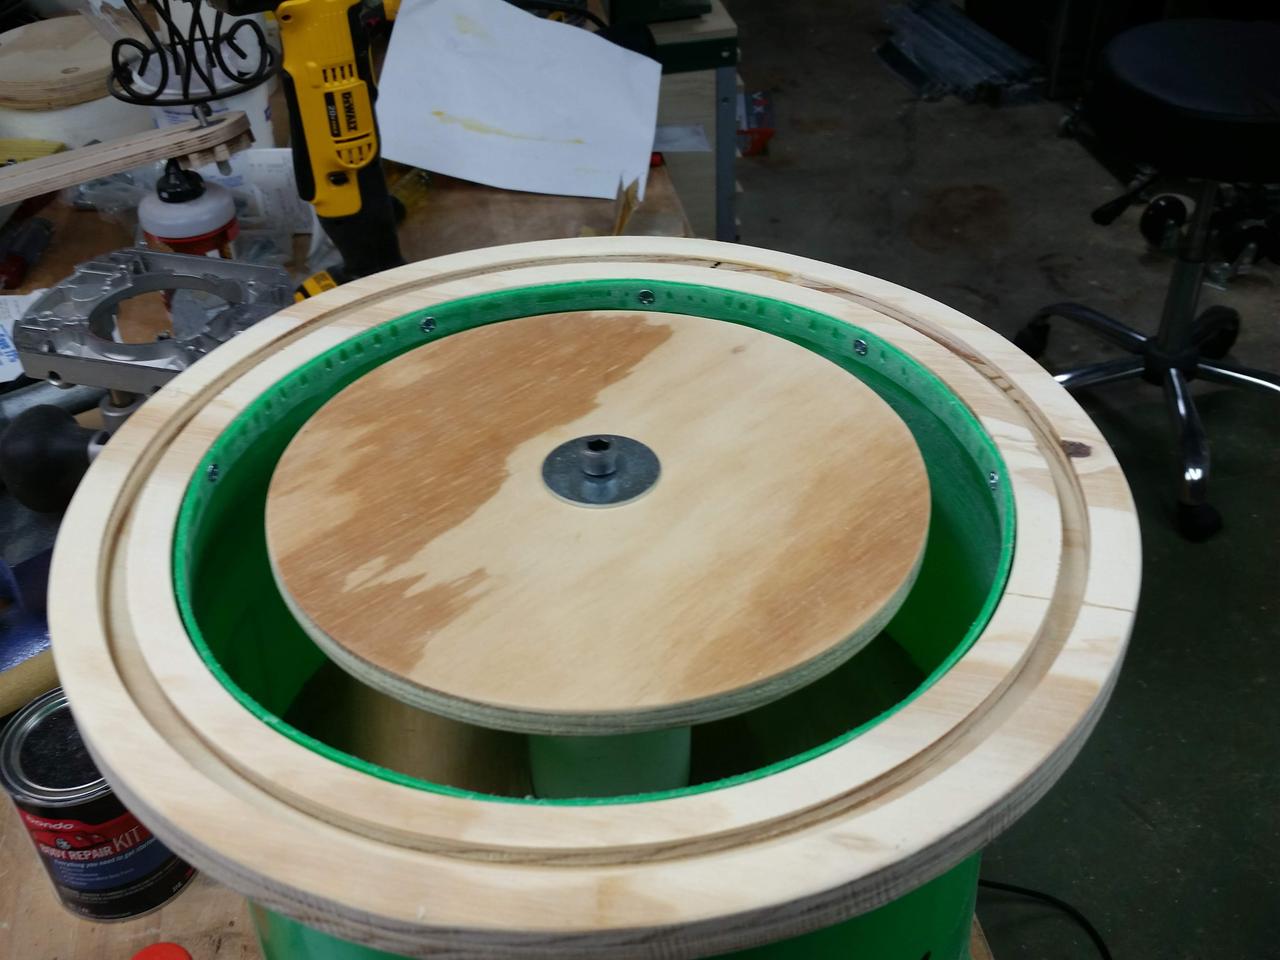
I needed to use a plywood cutting-jig, on my bandsaw, to make two discs. One for the thien baffle and the other for separator; between the waste bucket and the vacuum head
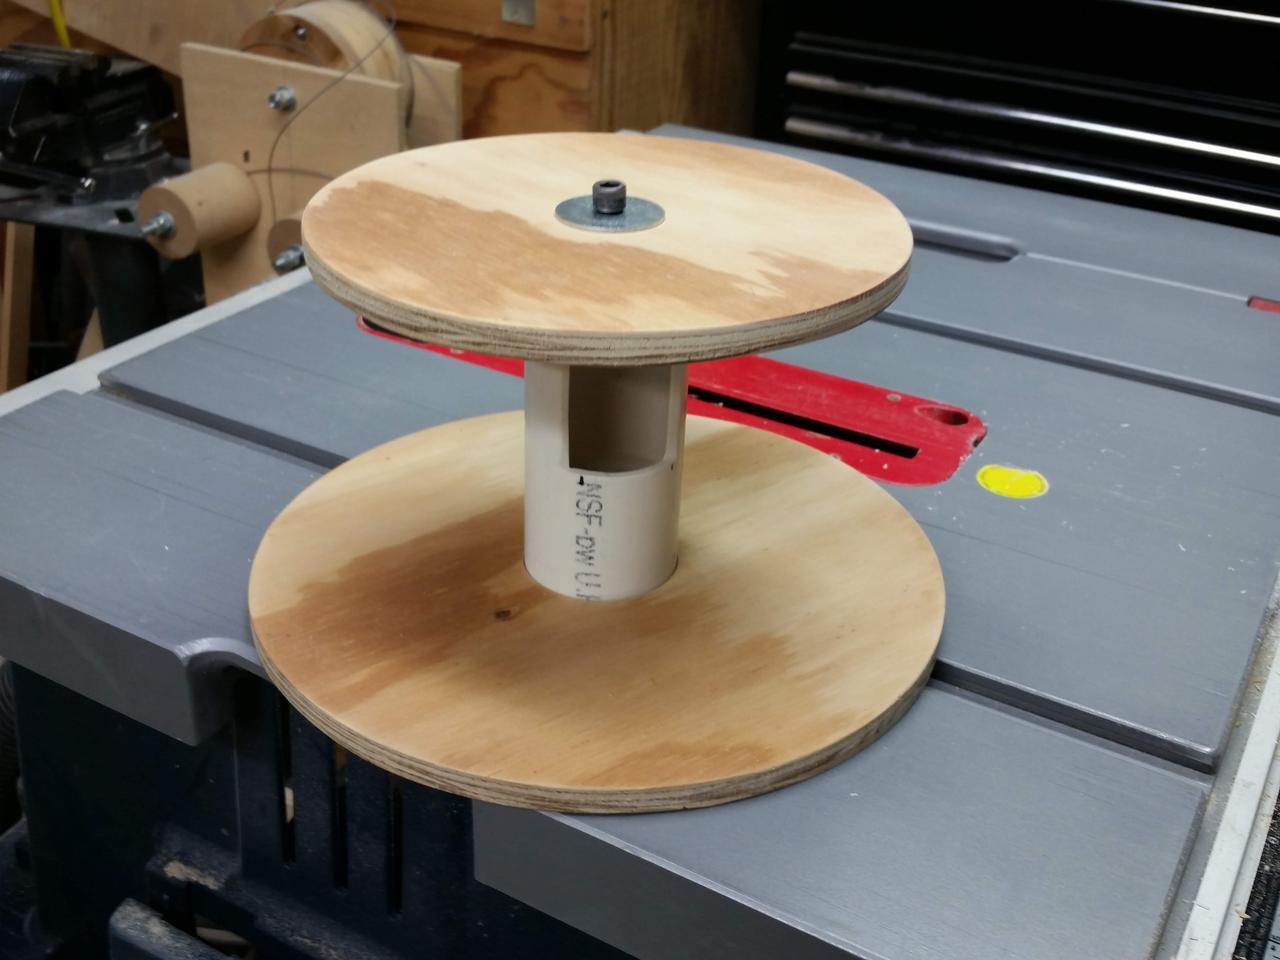
This is what I like to call a "baffel stack". The entire assembly should be flipped over; with the wider disc, being on top. The wider disc separates the shop-vac from the thien-baffel.If you look carefully, you'll see a rectangular hole, in thepvc pipe. This is where the cyclone-separated air gets pulledinto the space above the wider disc.
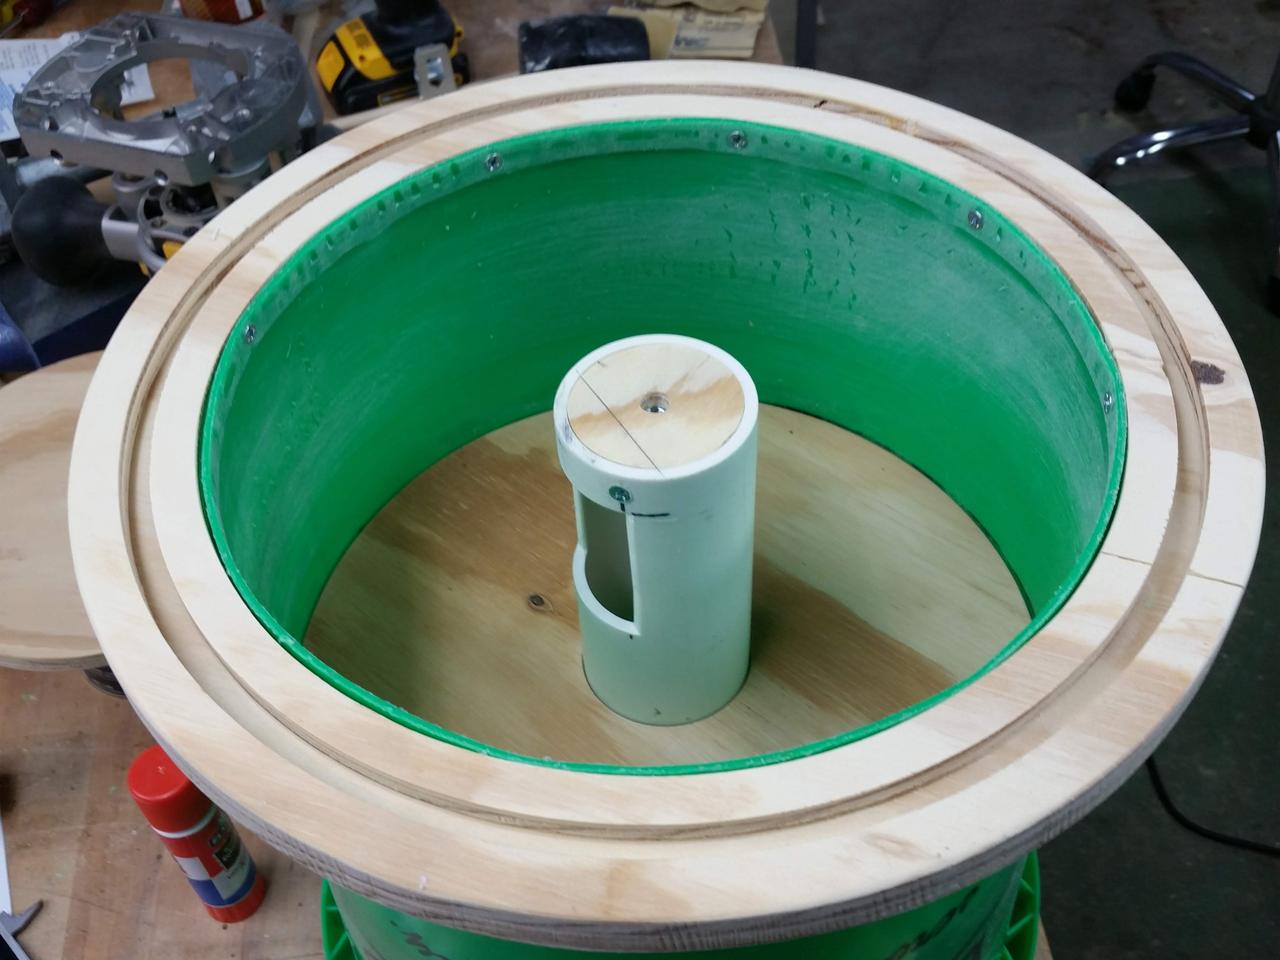
Here the separator-disc <minus the thein-baffel> is mounted inside the bucket. I needed to make sure that there was enough space above this, to clear the space used up by the shop-vac-filter assembly. Note: The threaded hole. I added this feature, to allow for ease of removal of the thien-baffe; for cleaning and clearing any wayward-peices.
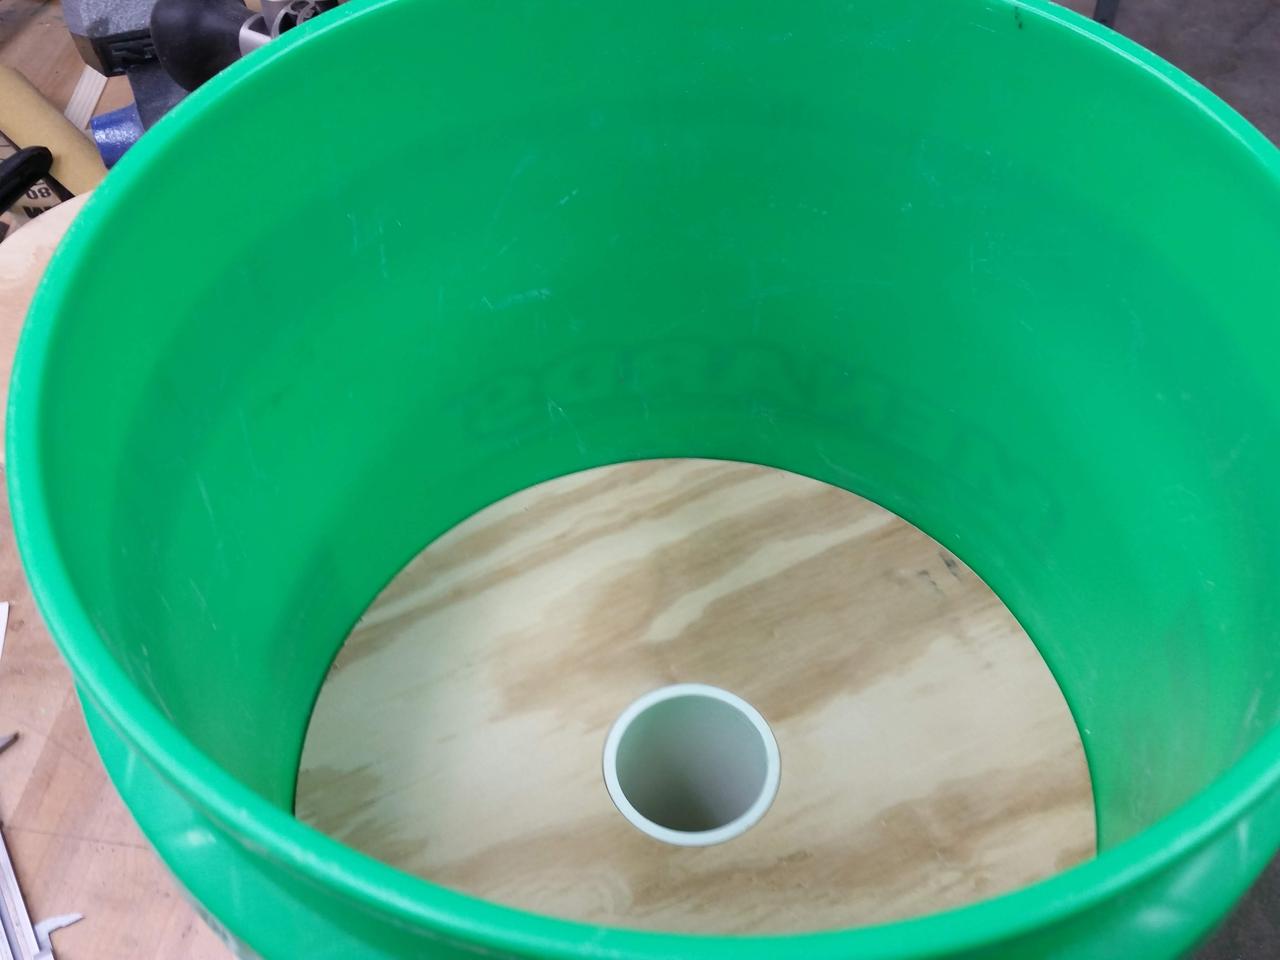
Here's a top view; where the shop-vac filter resides. Eventually the seam <between the bucket wall and plywood> will get caulked.
Finally, the bottom of the assembly with the thien-baffel attached.
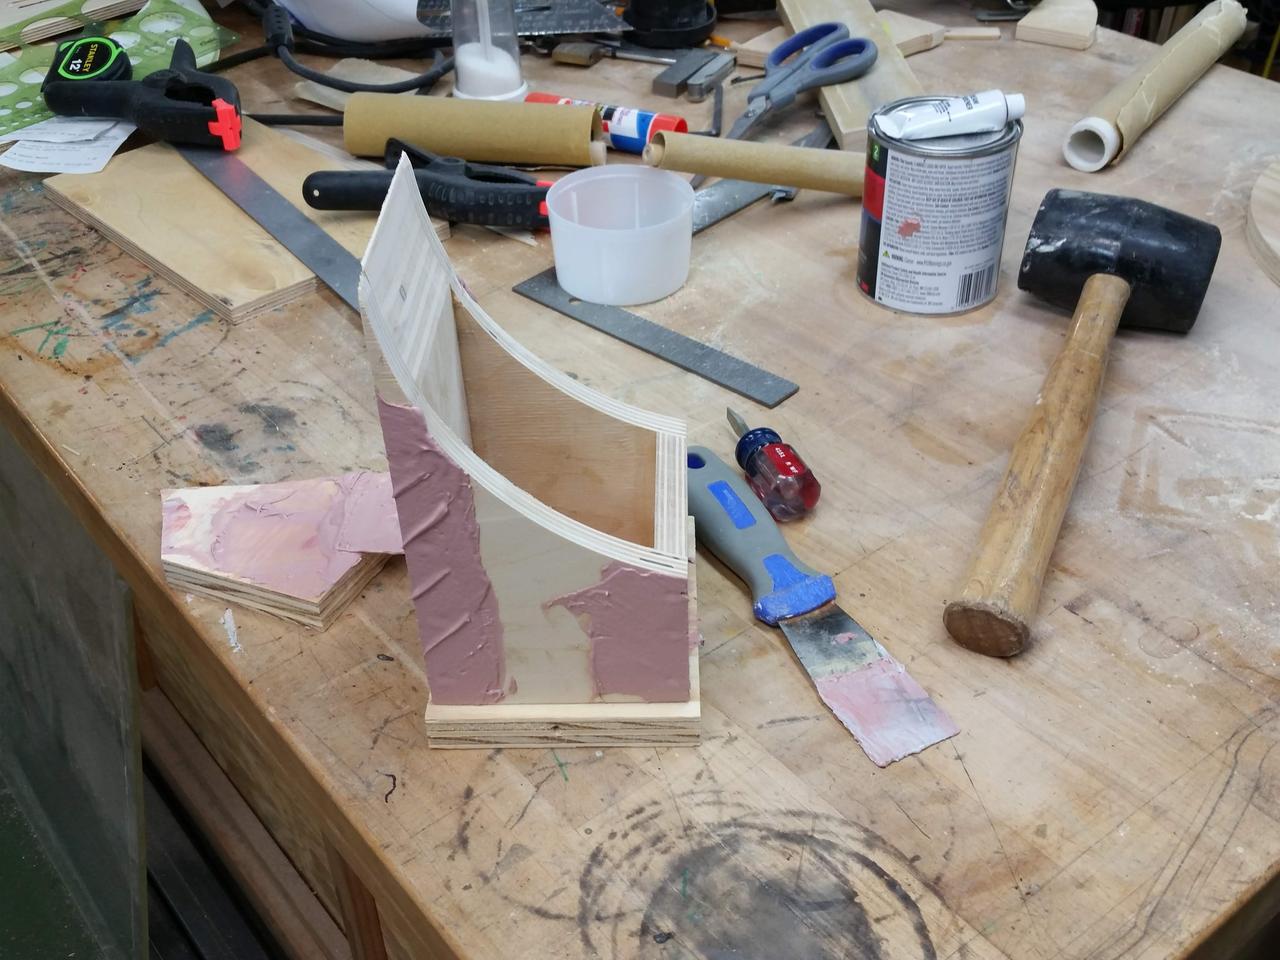
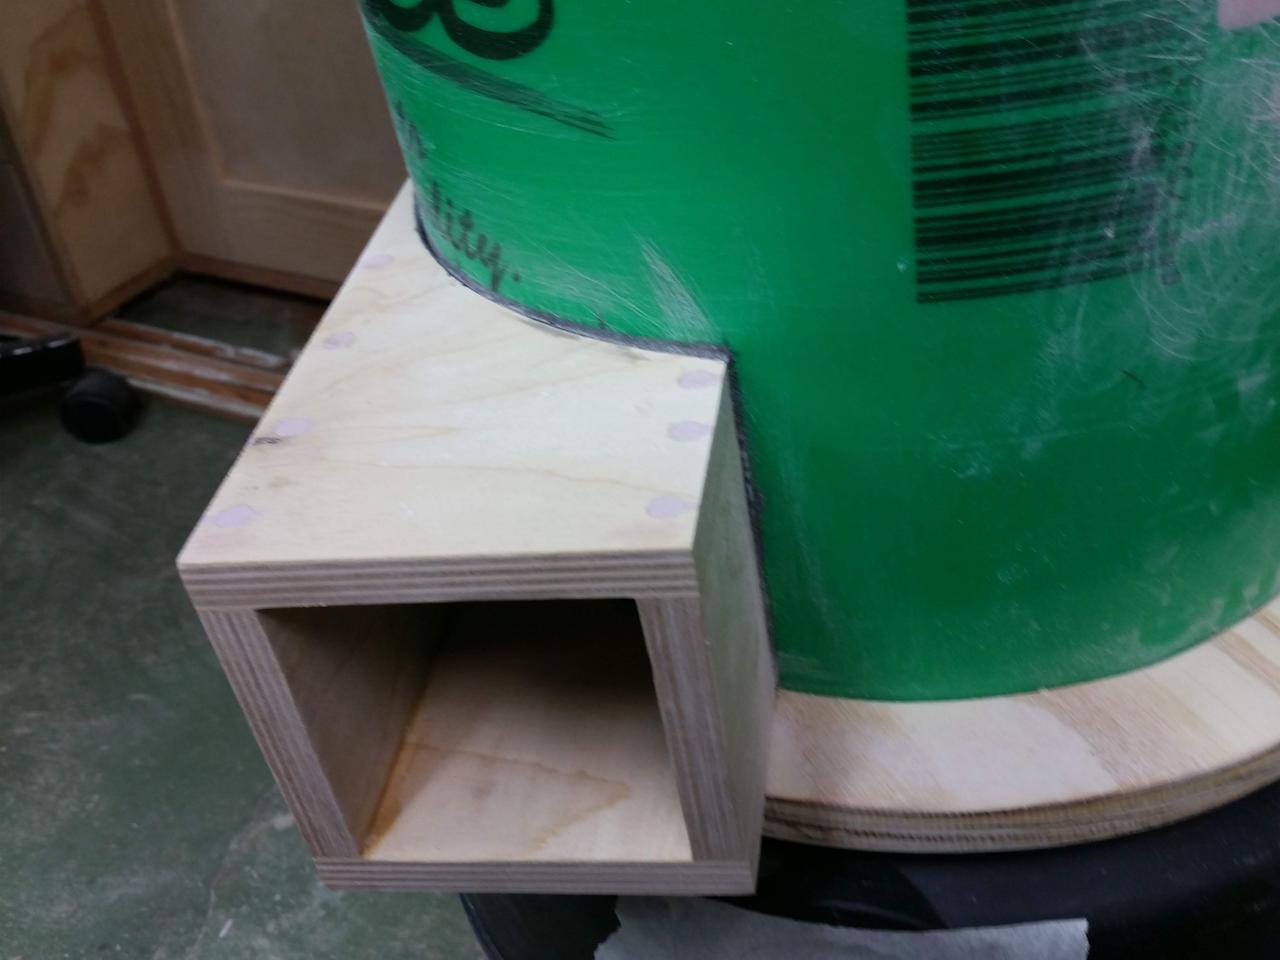
Injector Manifold build
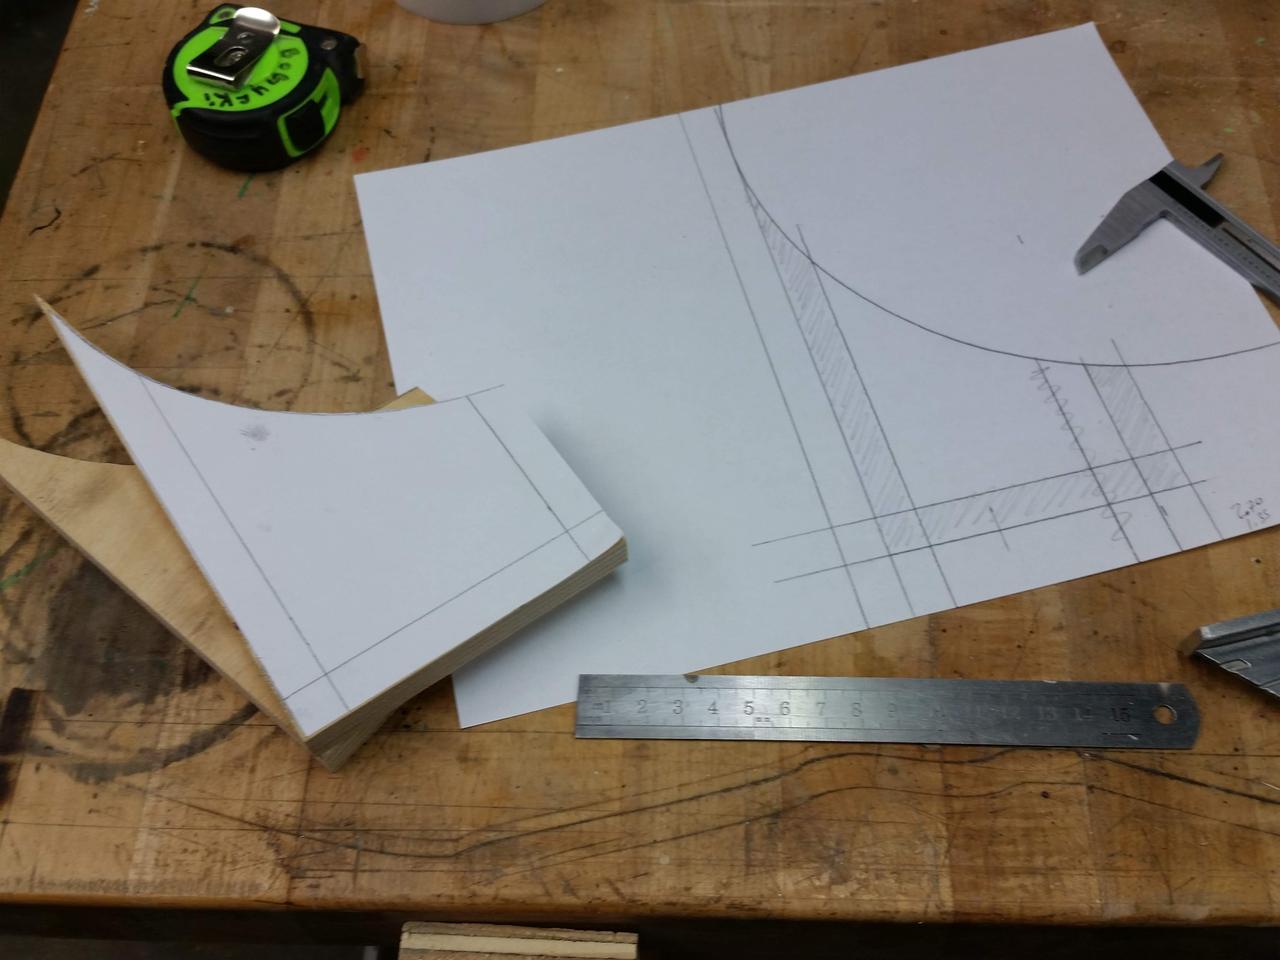
This component was fairly easy to make. In order to get a tight-seal, the curve should match that of the bucket's radius. The easiest way to do this, was to put a sheet of paper on the table, and put the bucket on top of said paper. Create a tracing, and work from there.
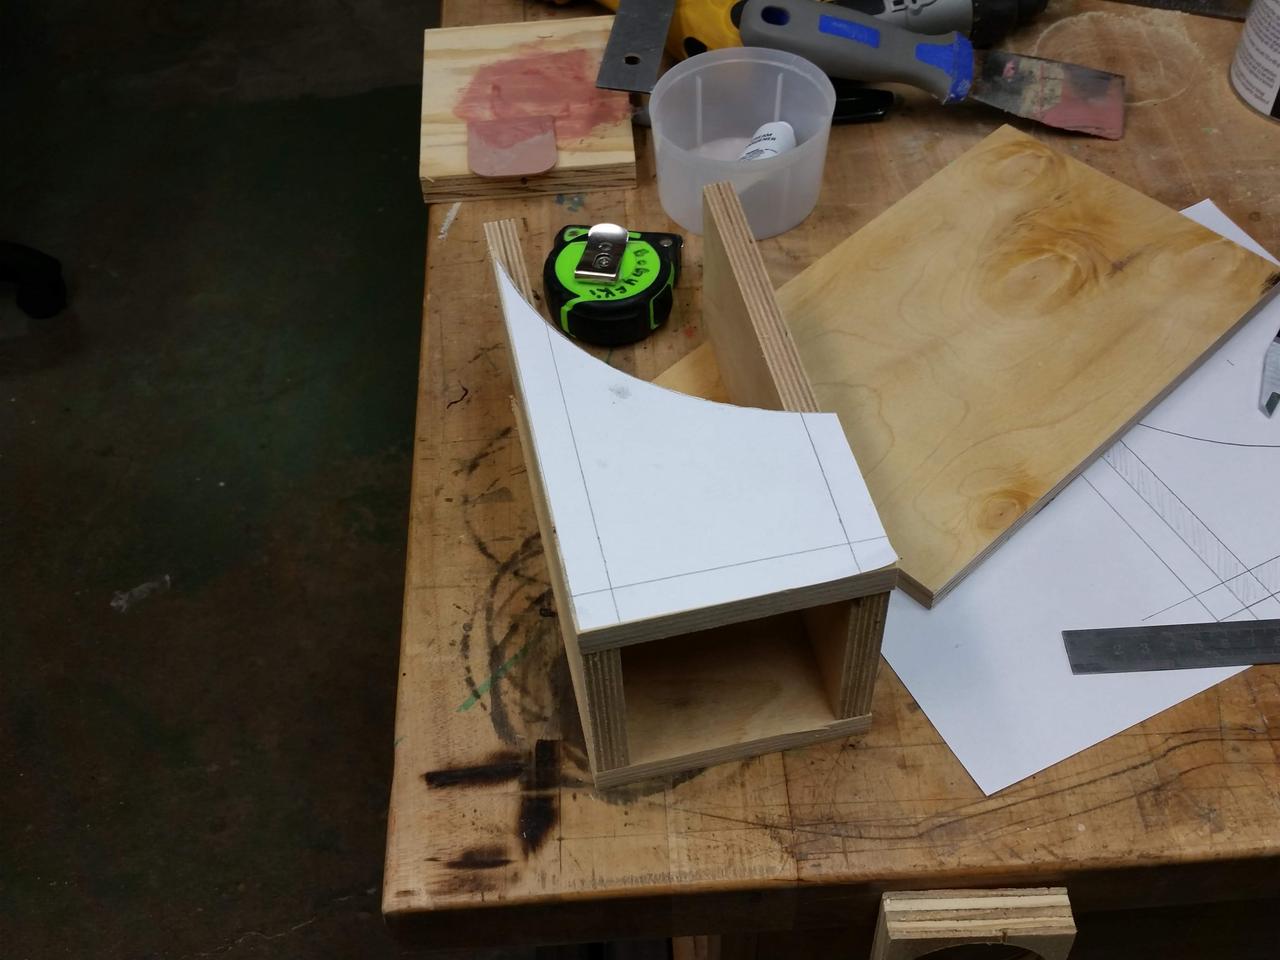
Tip: Once I made my tracing/diagram, I cut it out and glued it to my workpiece. It made it easier to visualize, cut and sand
|

|
|
|
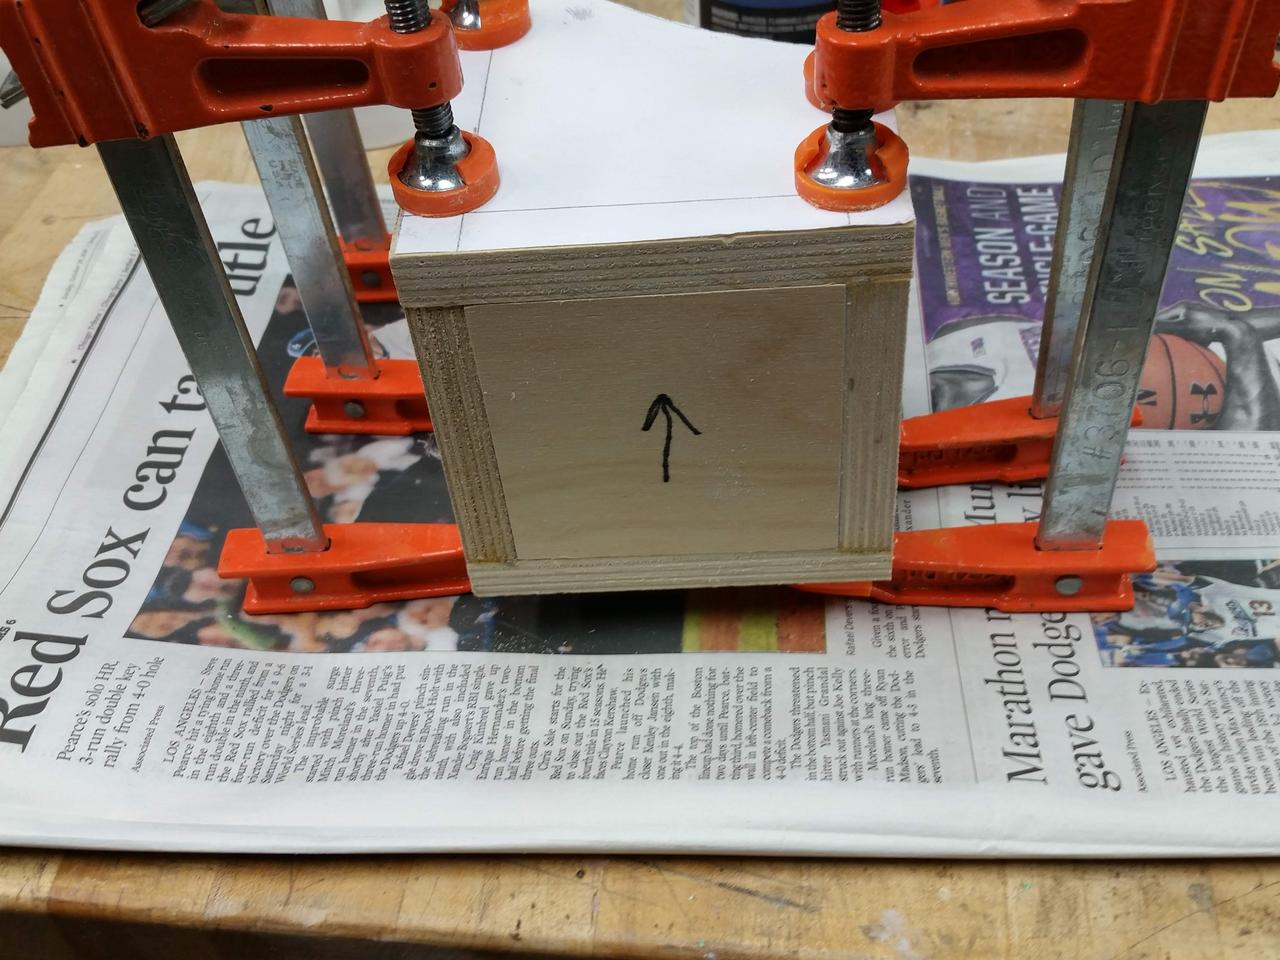
Everything here is made with 1/2" plywood and glue. I used some pin-nails to hold it all together, while the glue was drying.
I did a little putty-work, not so much as to make it air-tight, but more for asthetics.
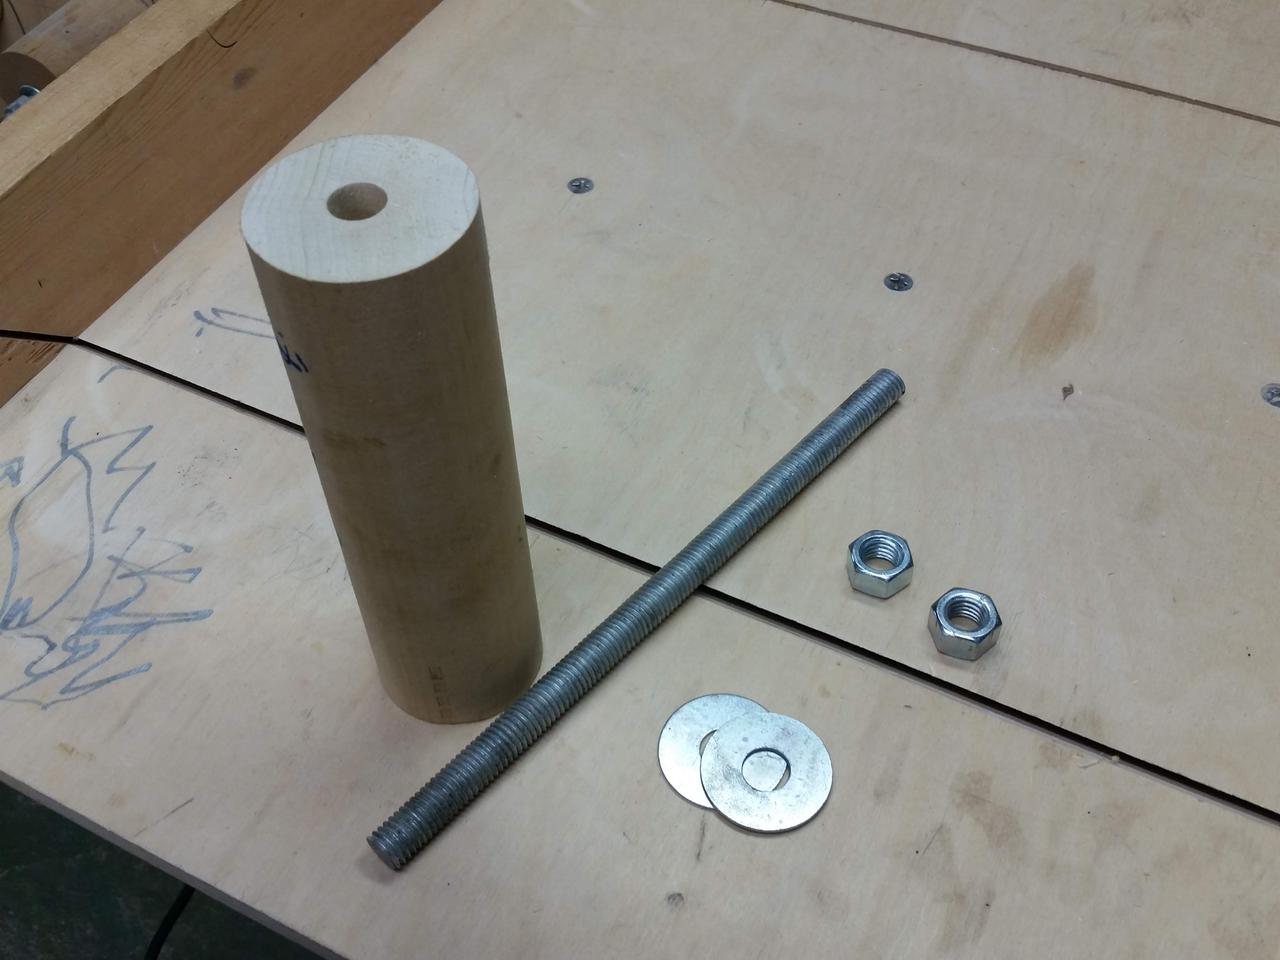
Toolmaking and Sanding
|
|

|

|
|
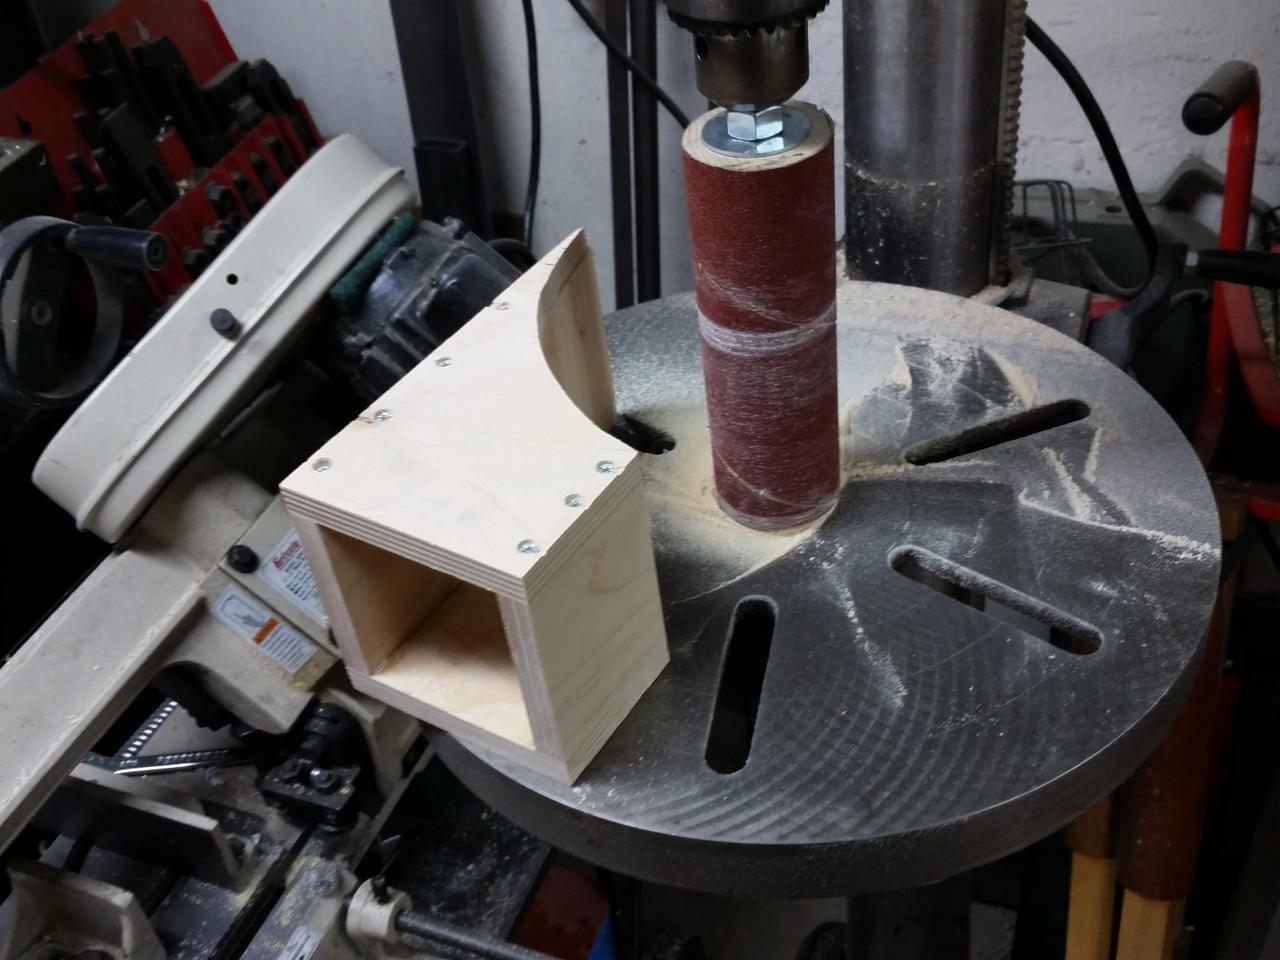
Once the glue-up was dry, I needed to sand everything down. One problem I needed to solve, was how do I sand the two-curved surfaces in parallel? Initially I tried it manually, and well, I stopped before it became a disaster.
What I needed was a spindle-sander. I didn't have one, so -- you guessed it... scrap-pile and junk-bin.
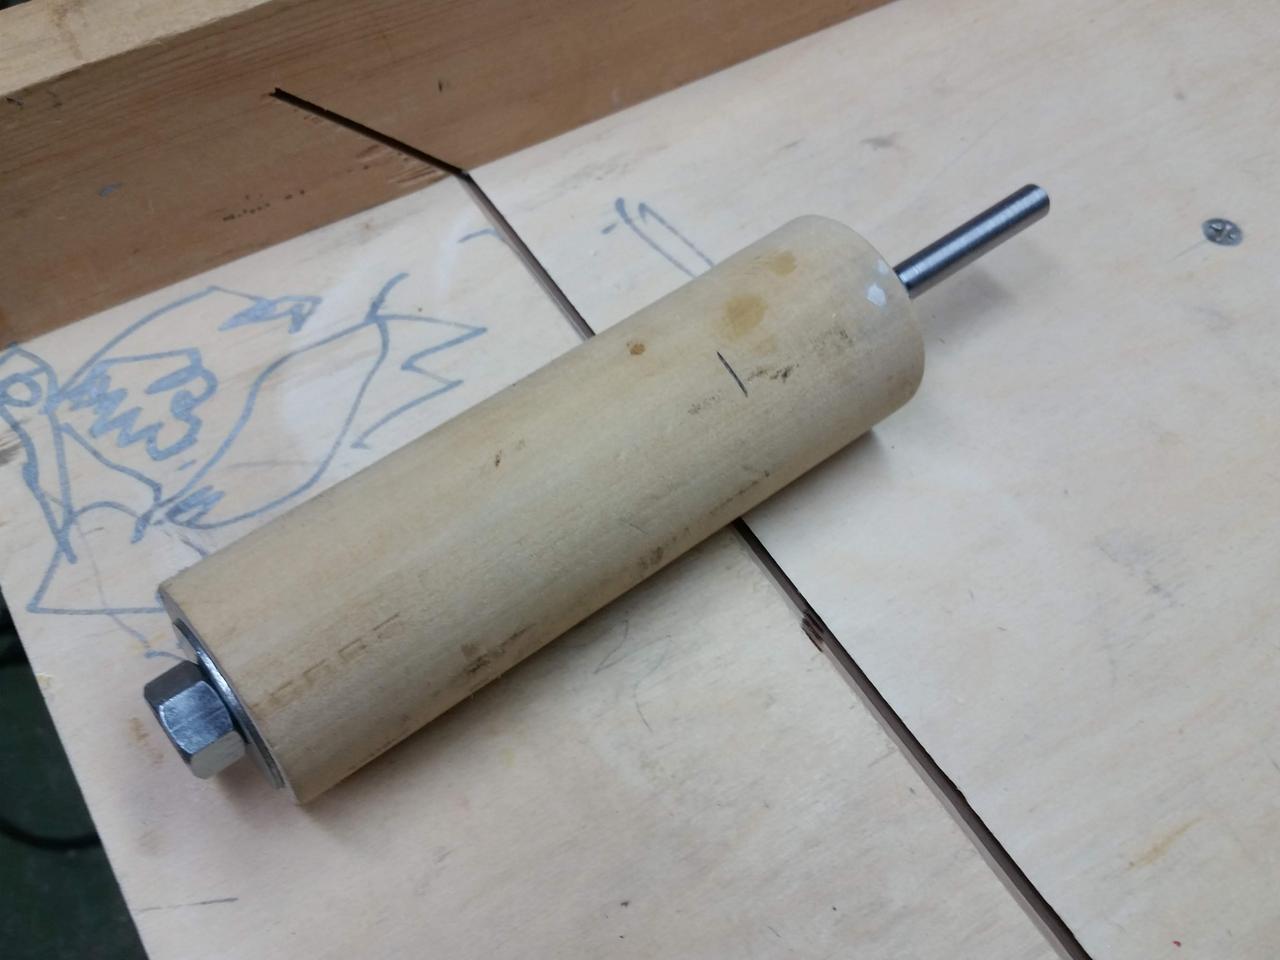
I managed to cobble it together; in a few hours. Most of the time, was spent, waiting for the spray-adhesive to dry.
Worked like a charm; outside of getting dust everywhere. :)
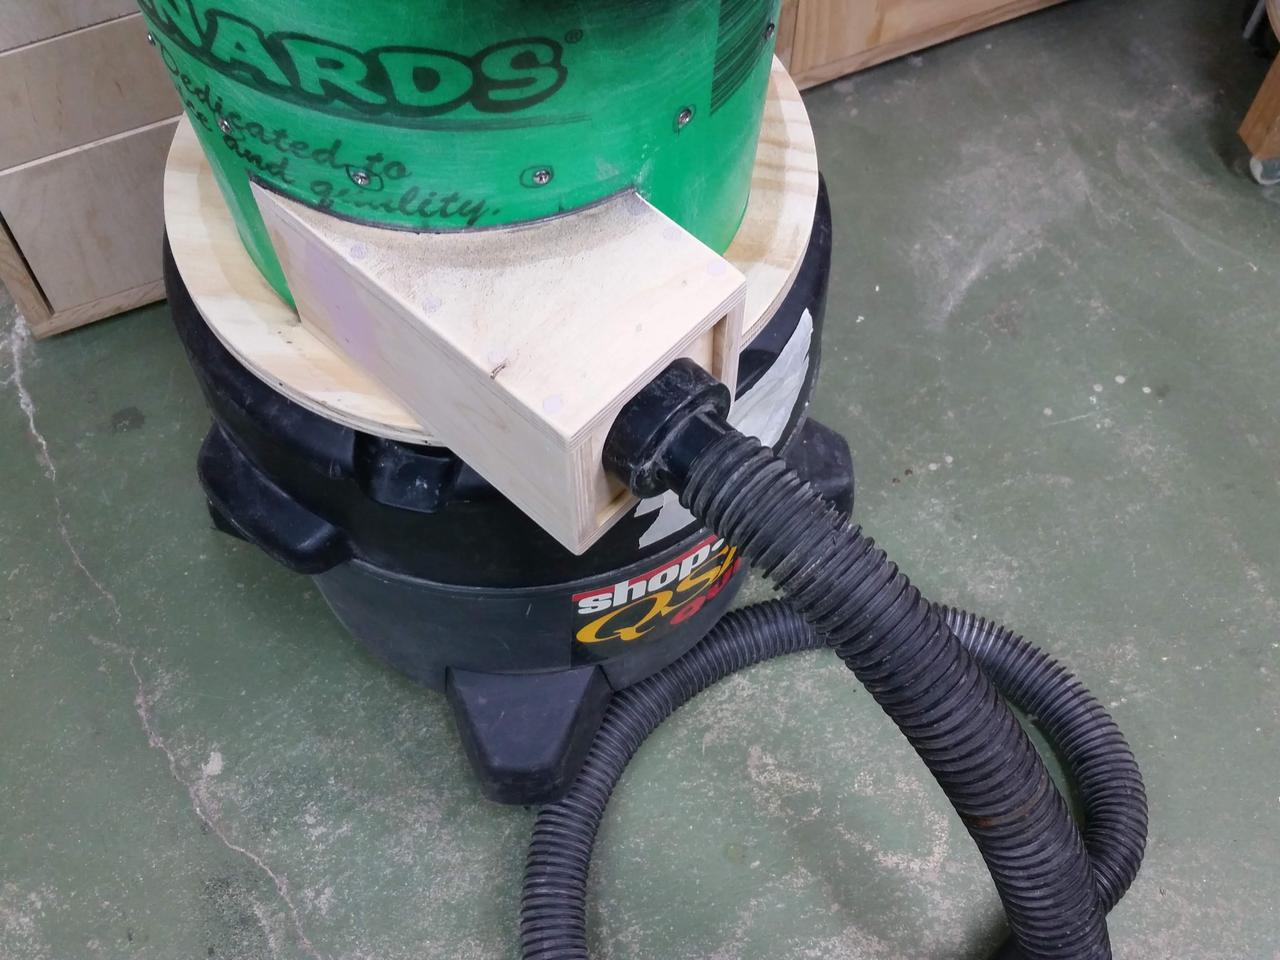
Attaching Injector Manifold

|
|

|

|
|
|
Attaching the manifold was pretty easy. Since the plastic is slighty transparent, I was able to shine a flashlight through the material, and get a shadow of where the manifold would sit.
Then it was a matter of using a sharpie to trace it out.
I drilled pilot holes, applied silicone-caulk to the curved-edge, and screwed into place.
A drill, dremel, file, sandpaper, and Xacto-knife made short work of said task.
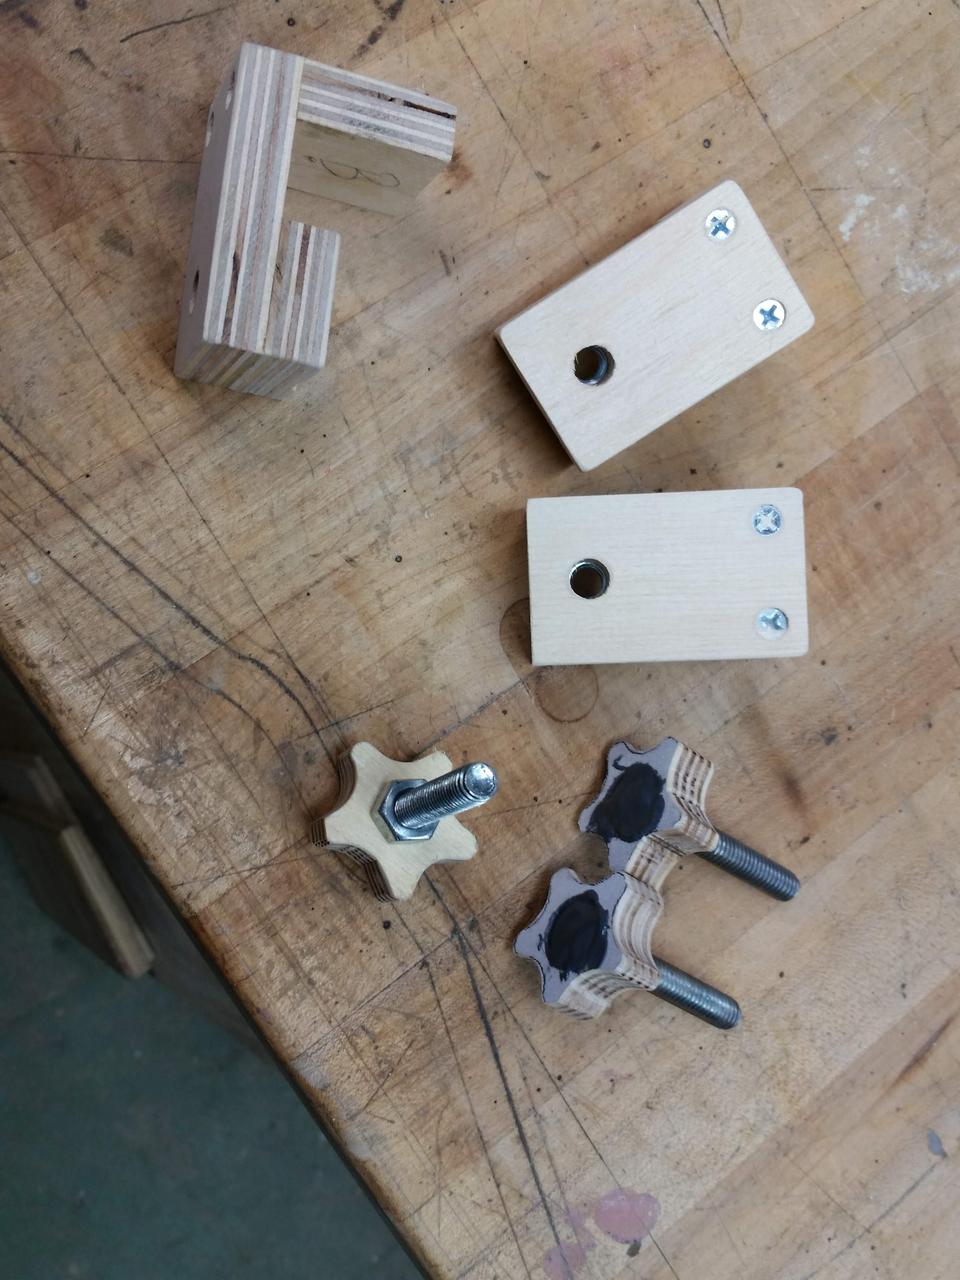
Odds and Ends....
|
|
|

|
|

|
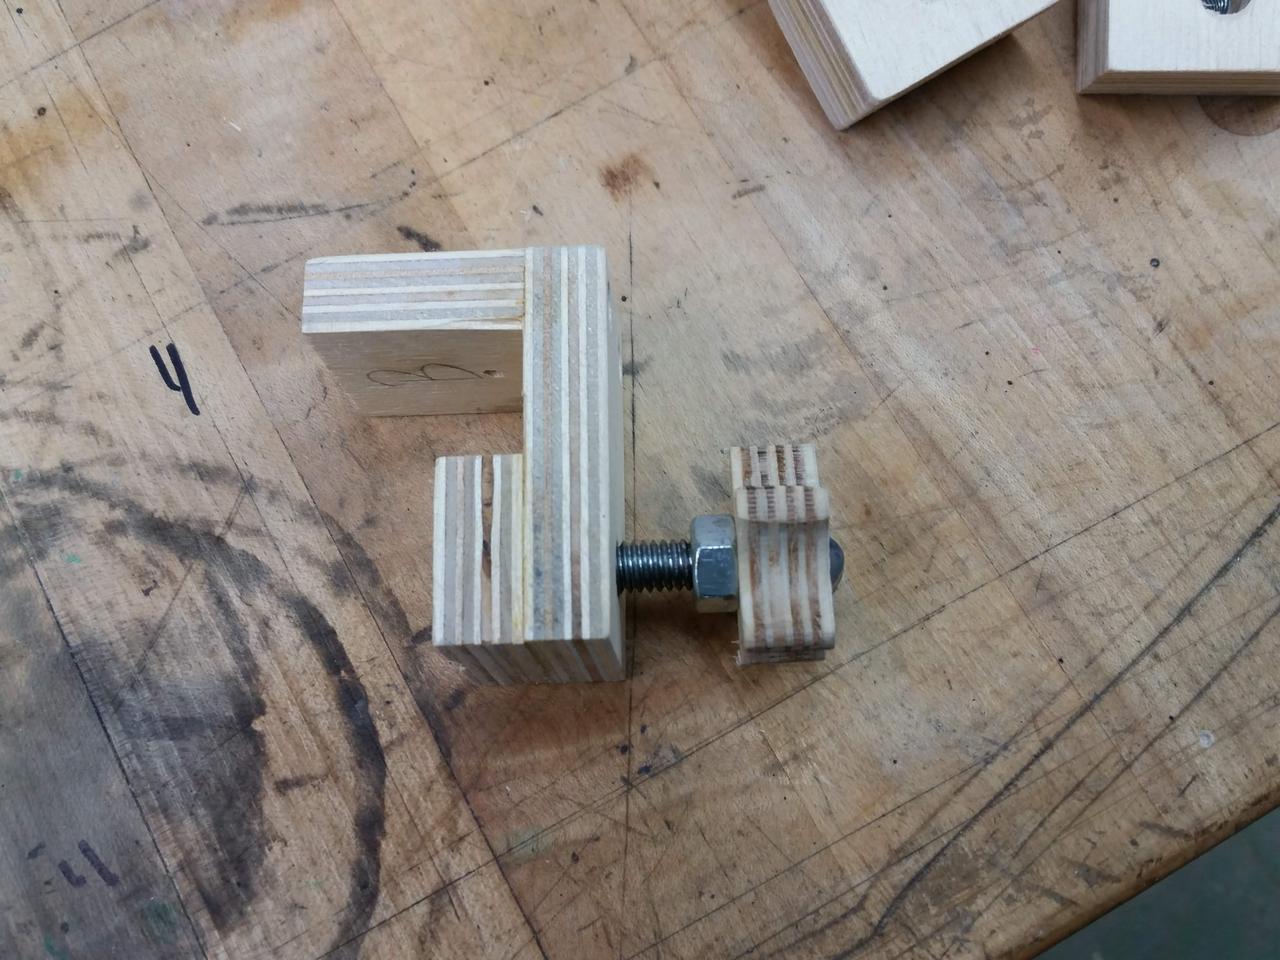
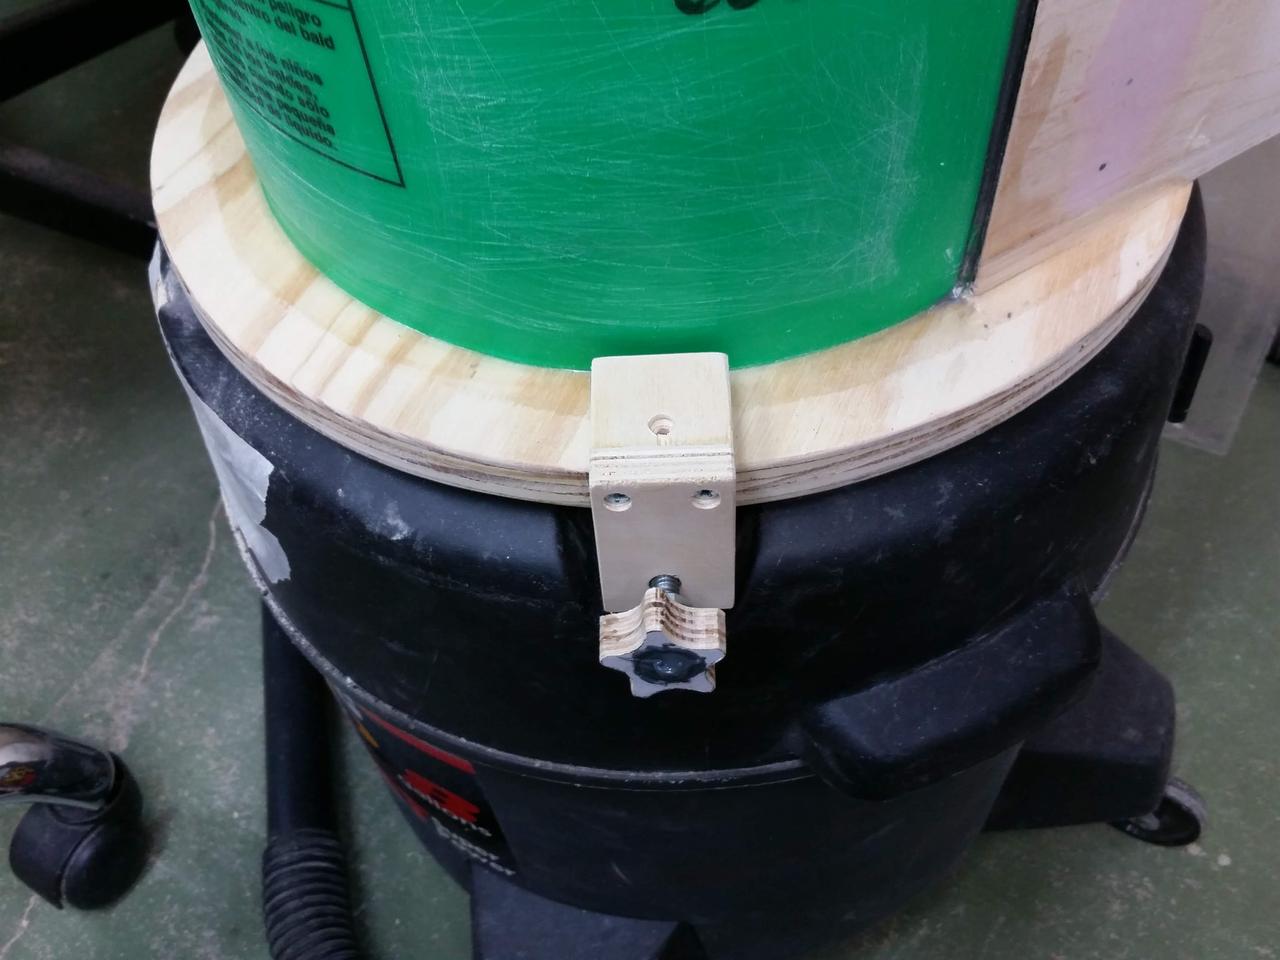
Once all of this was put-together, the shop-vac top just snapped into place; however the bottom portion, where the bucket meets debris-container didn't have a fancy way of holding itself together.
I noted the bottom-container had 3-indentations, from the shop-vac-top. So I just whipped up a simple bracket.
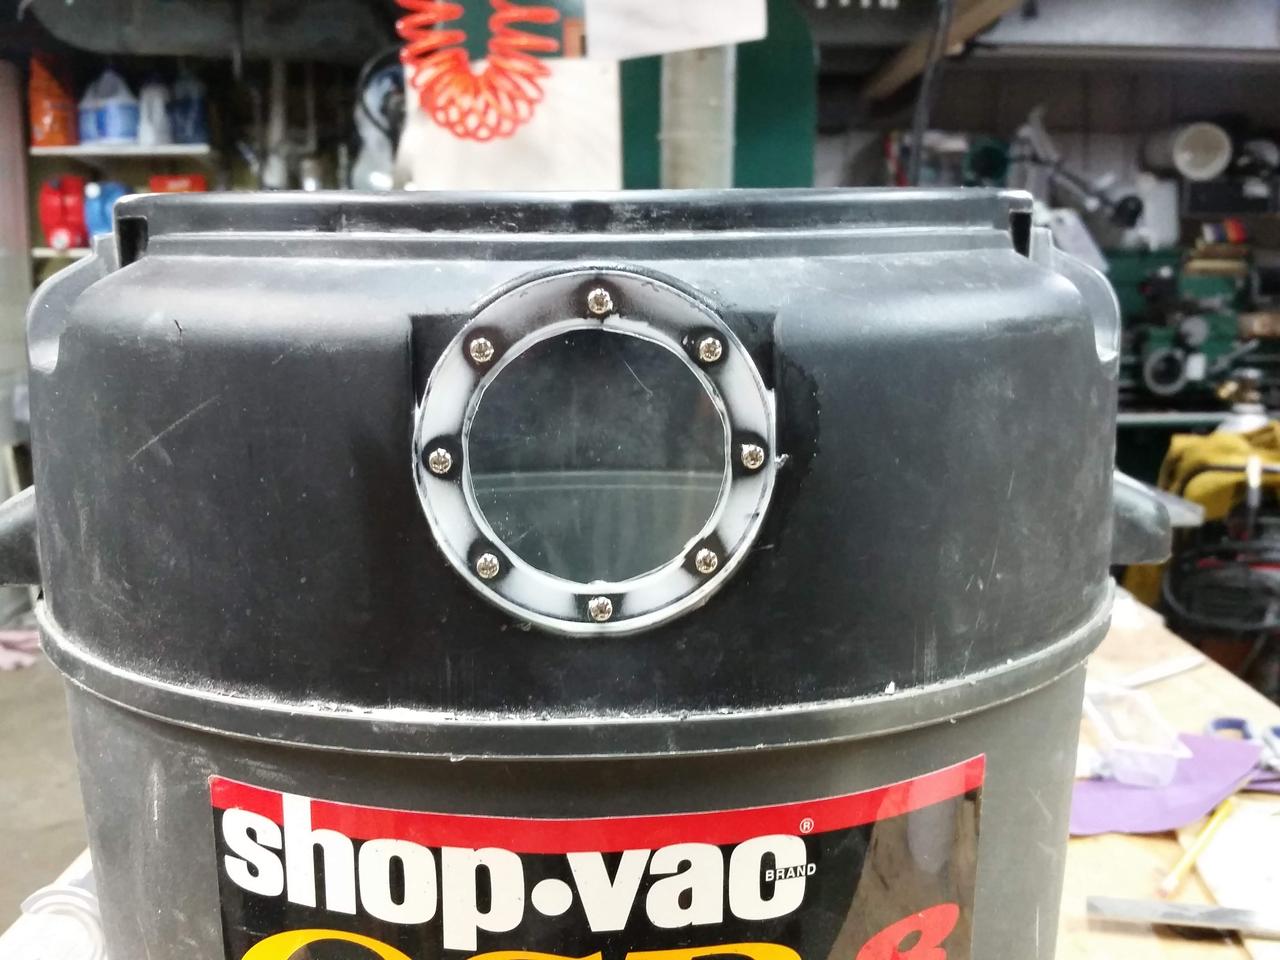
The hole, in the bottom-container, was the original vacuum-hose port; originally I was just going to slap a peice of wood on it, and call it a day. I decided to a viewing-port; scrap-piece of plexi-glass. Some caulk, some screws...all is good.
Today....
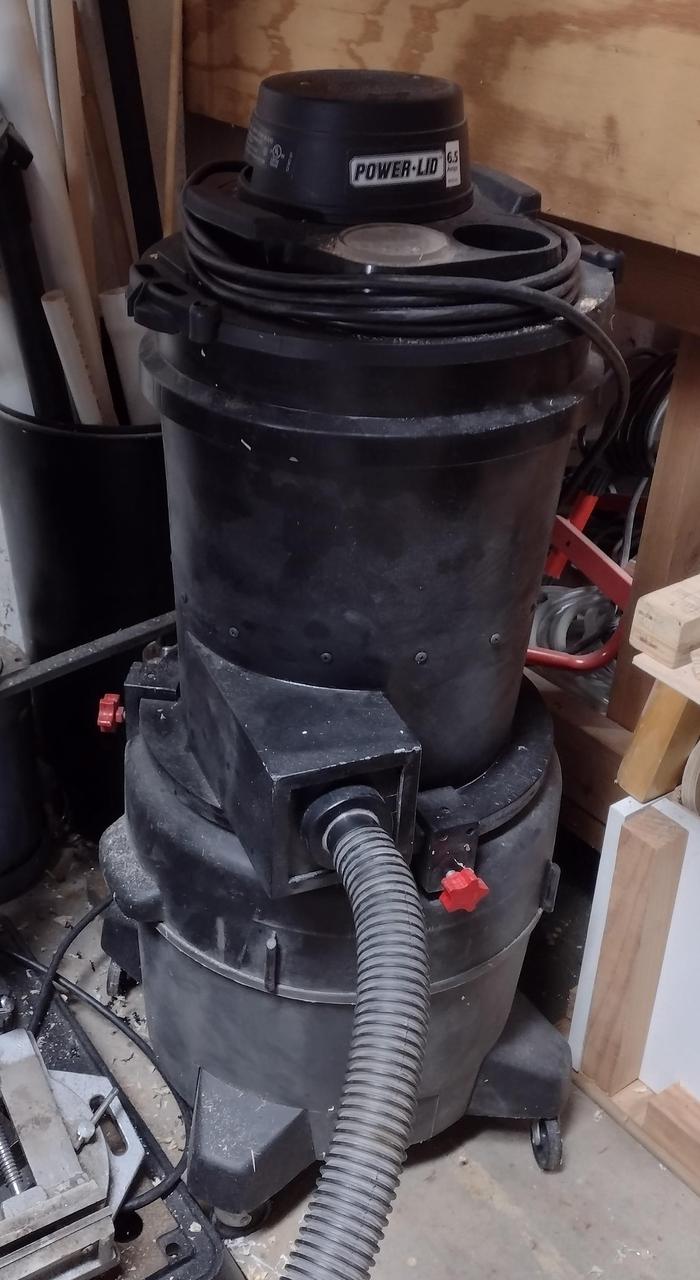
I built and completed this monstrousity, around March of 2019... Sometime in the late summer, the motor burnt-out. Mind you, I had the shop-vac since 2000. I think I got a good run out of it.
I didn't want to toss the entire unit out, so doing some searching landed me with this:
Comments