Mini-Greenhouse build
Following in my family's footsteps.. (grand-parents...parents)... I've gotten into gardening. Over the years, it started out small and simple, using buckets, them moving onto raised beds. One problem I've always had, was dealing with various pests; rabbits, birds, squirrels (tree-rats).
One way to keep them at bay, is to put cages around everything. At some point I built what I like to call, a chicken-coop, over our raised beds. It was a bit of an eye-sore, but it worked.
Eventually, I wanted more; a greenhouse. Sadly our village didn't allow for such structures, without a permit.
Prior to covid, I noticed, in our village flyer that we were allowed to use hoop-houses. So this is my interpretation of a "hoop-house". Just a bit more "permanant" :)
Rather than building the structure against my home, I opted for the garage.
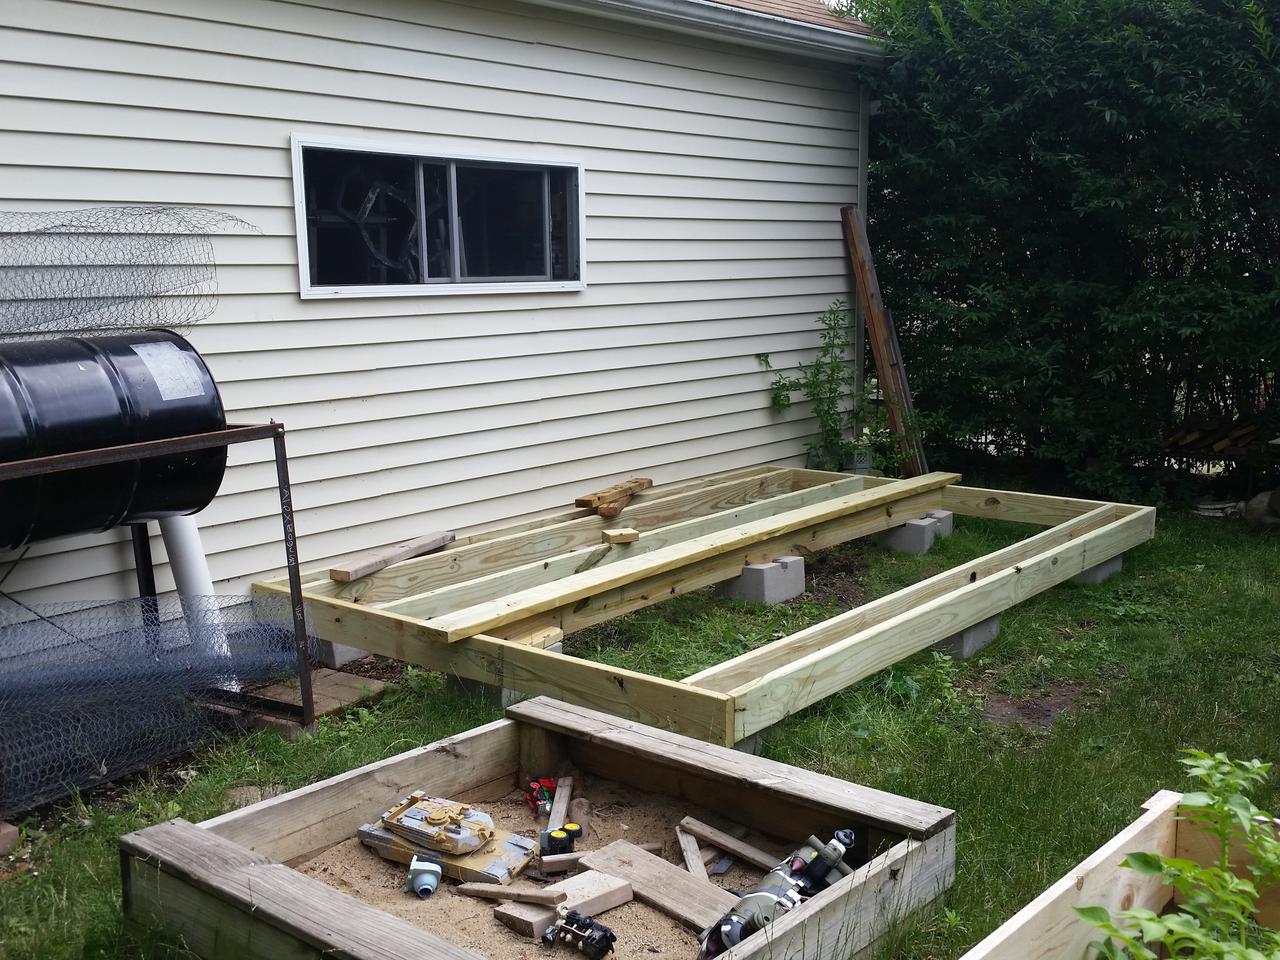
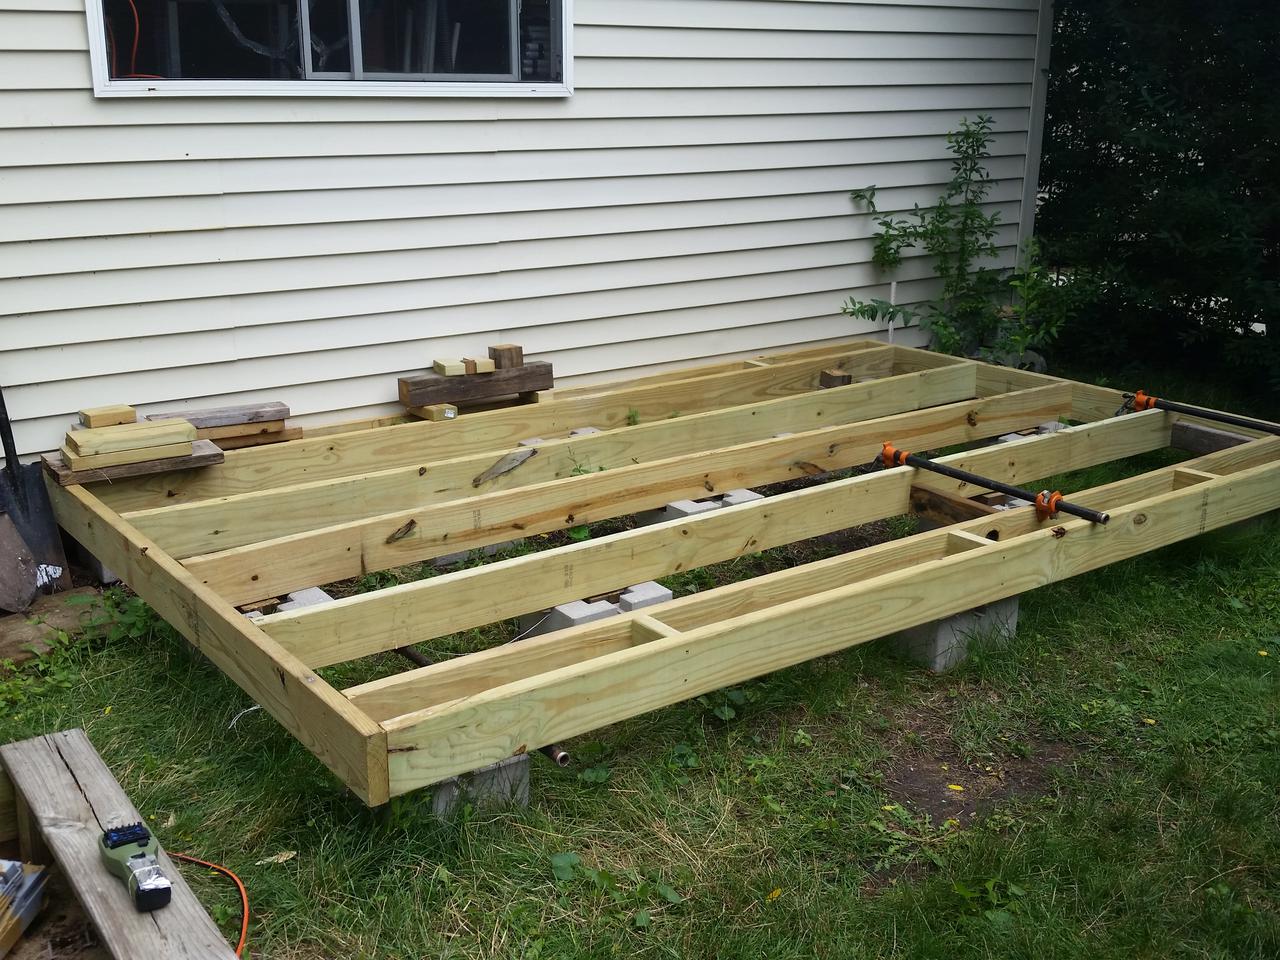
Foundation
Originally I planned on putting down a bed of gravel, and somehow attaching the pvc-pipes to the ground. However my back-yard is prone to flooding, so I decided to go for an elevated structure (aka deck) and framing things out on top of it.
Rather than pouring concrete footings and pillars, I went with deck-blocks; which can be found at all of your big-box-stores.
Here's an example: Mendards Deck Block
- The basic frame consists of:
2x6x8's
2x6x12's
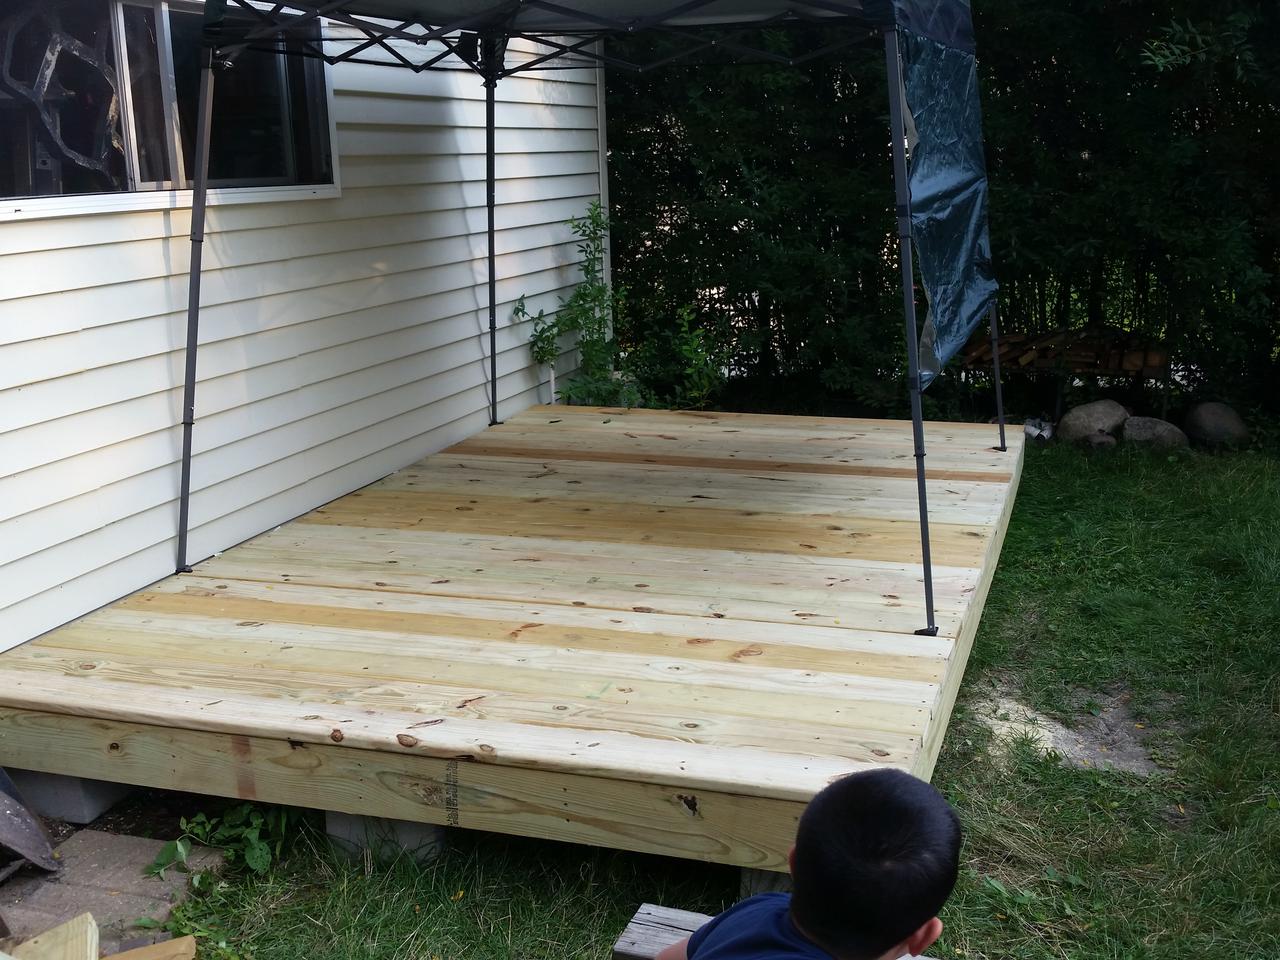
- The decking is:
1x6x8's
 |
 |
 |
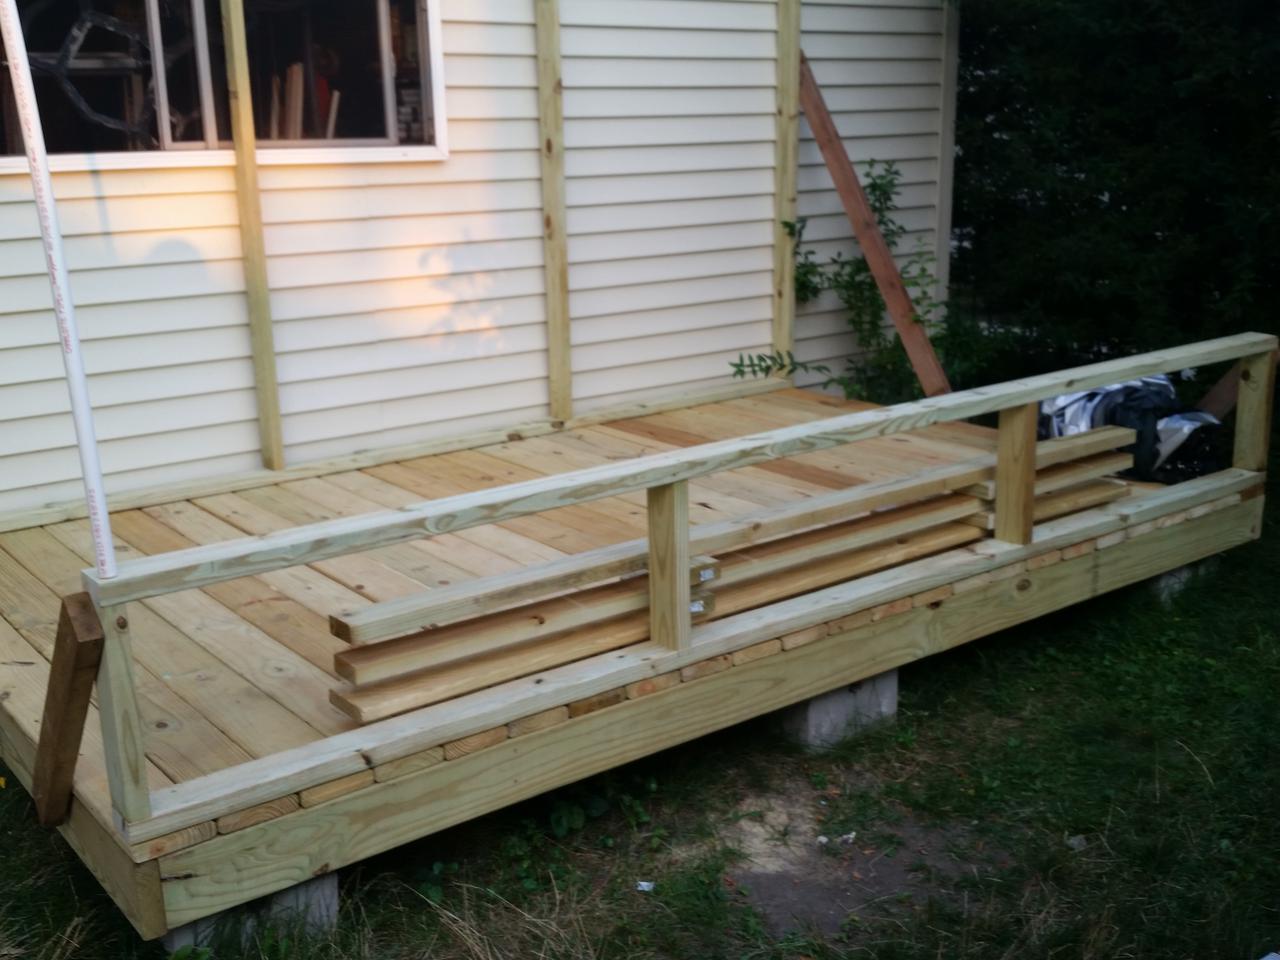
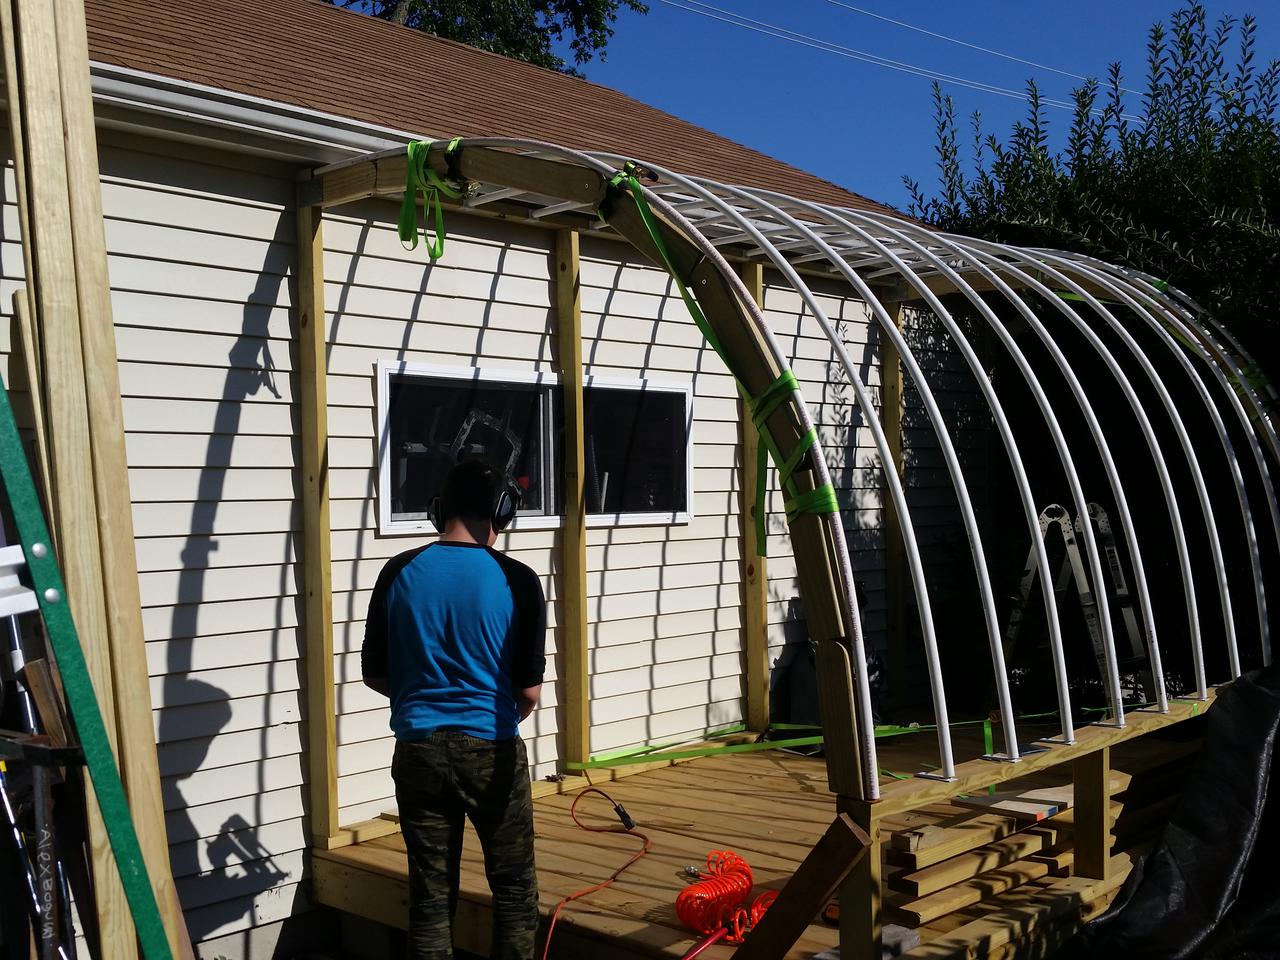
Walls
I really didn't want to drive screws or nails into the garage, so I opted to go with a self-supporting structure.
No magic here, just basic 2x4 framing.
 |
 |
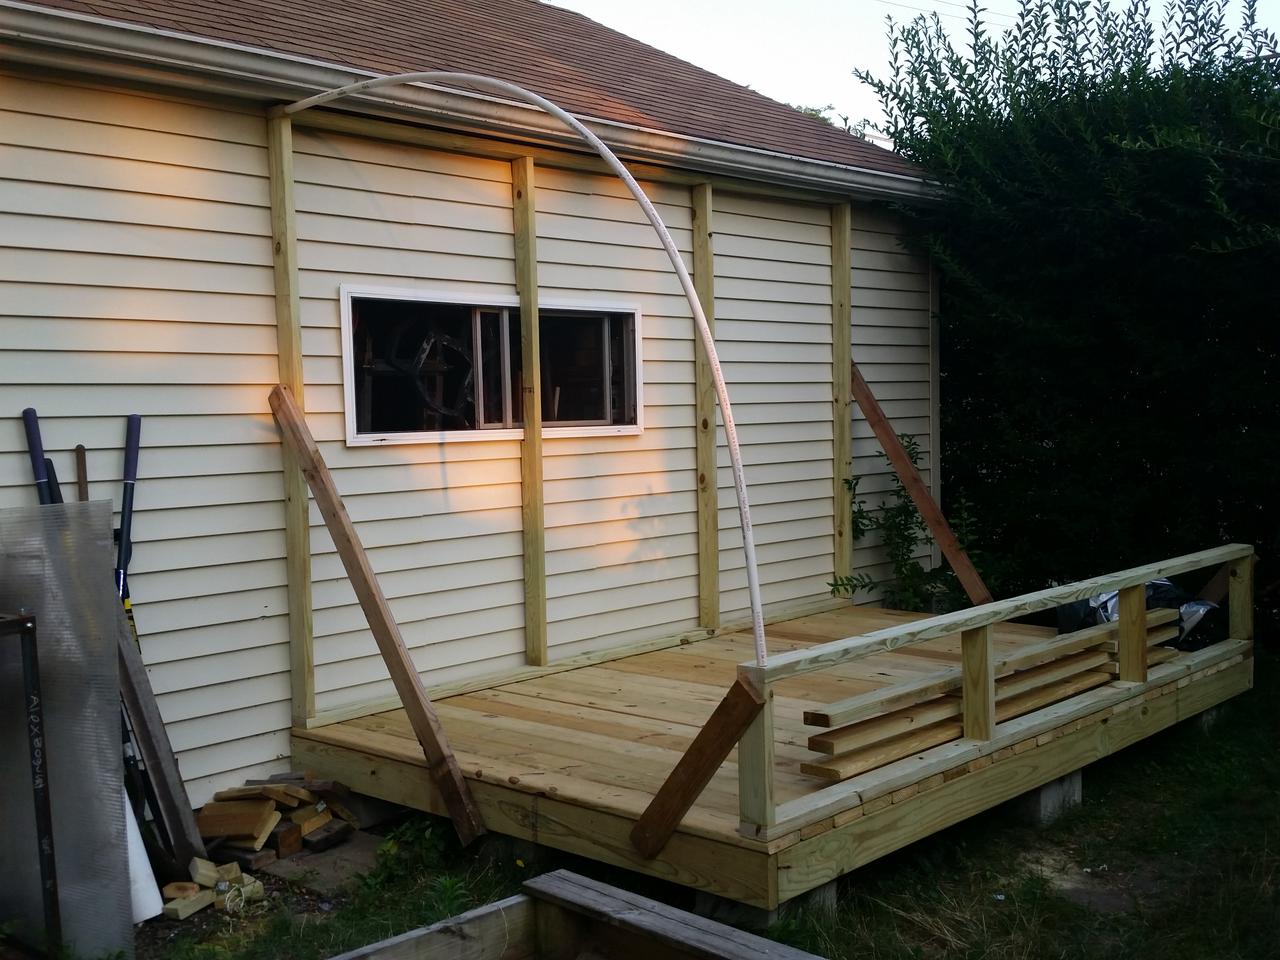 |
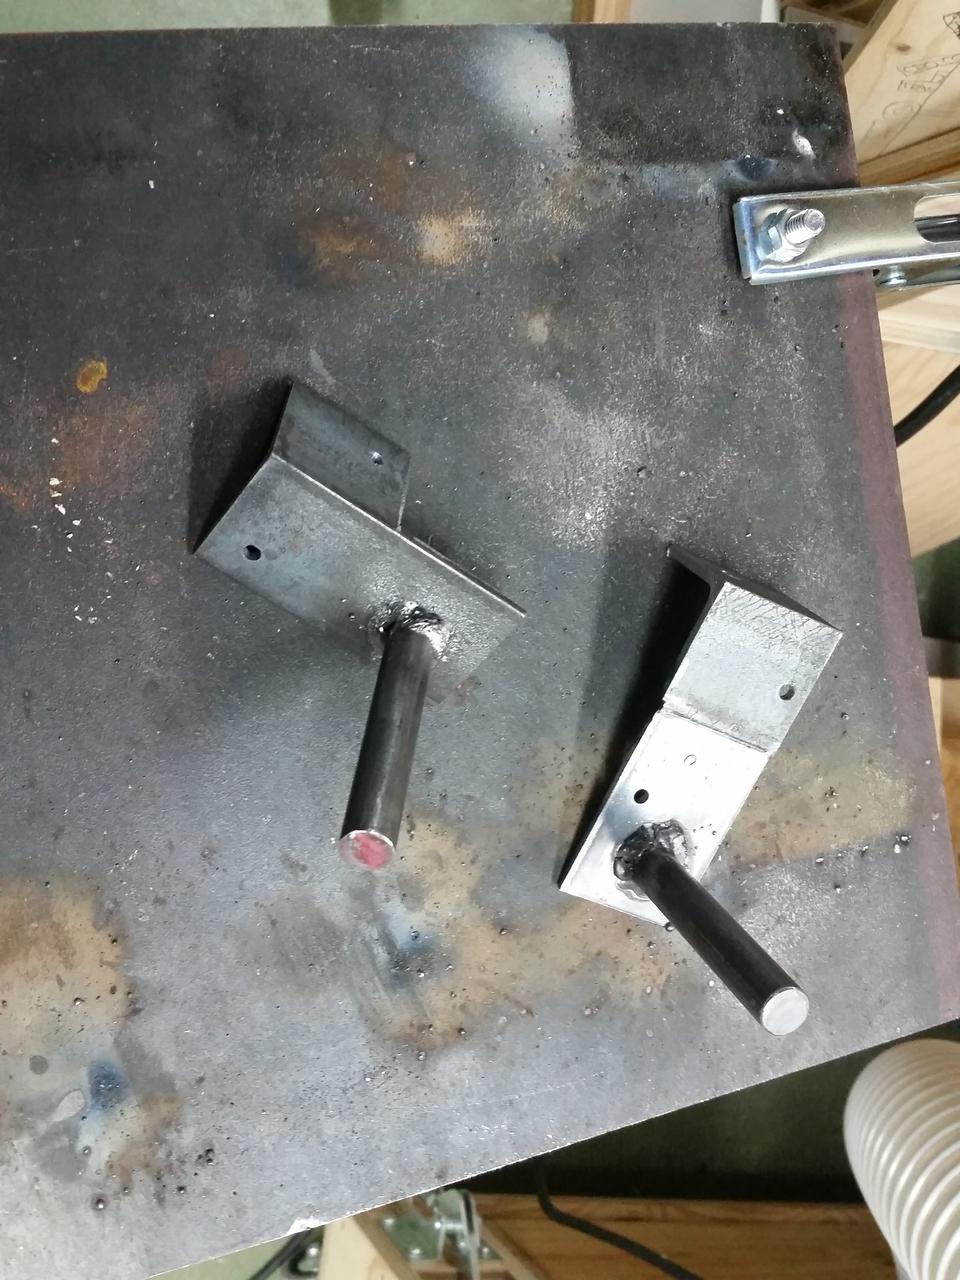
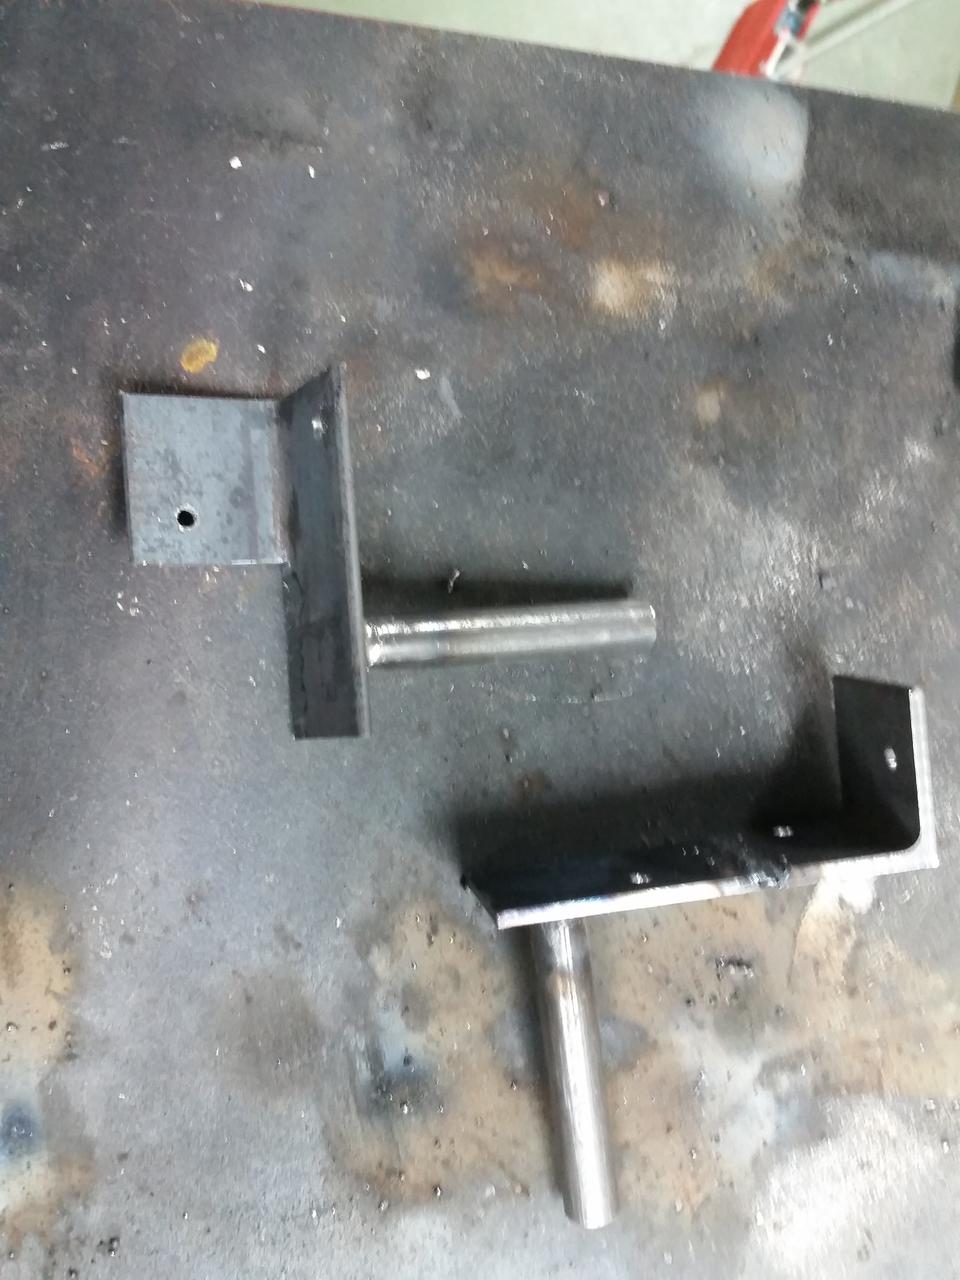
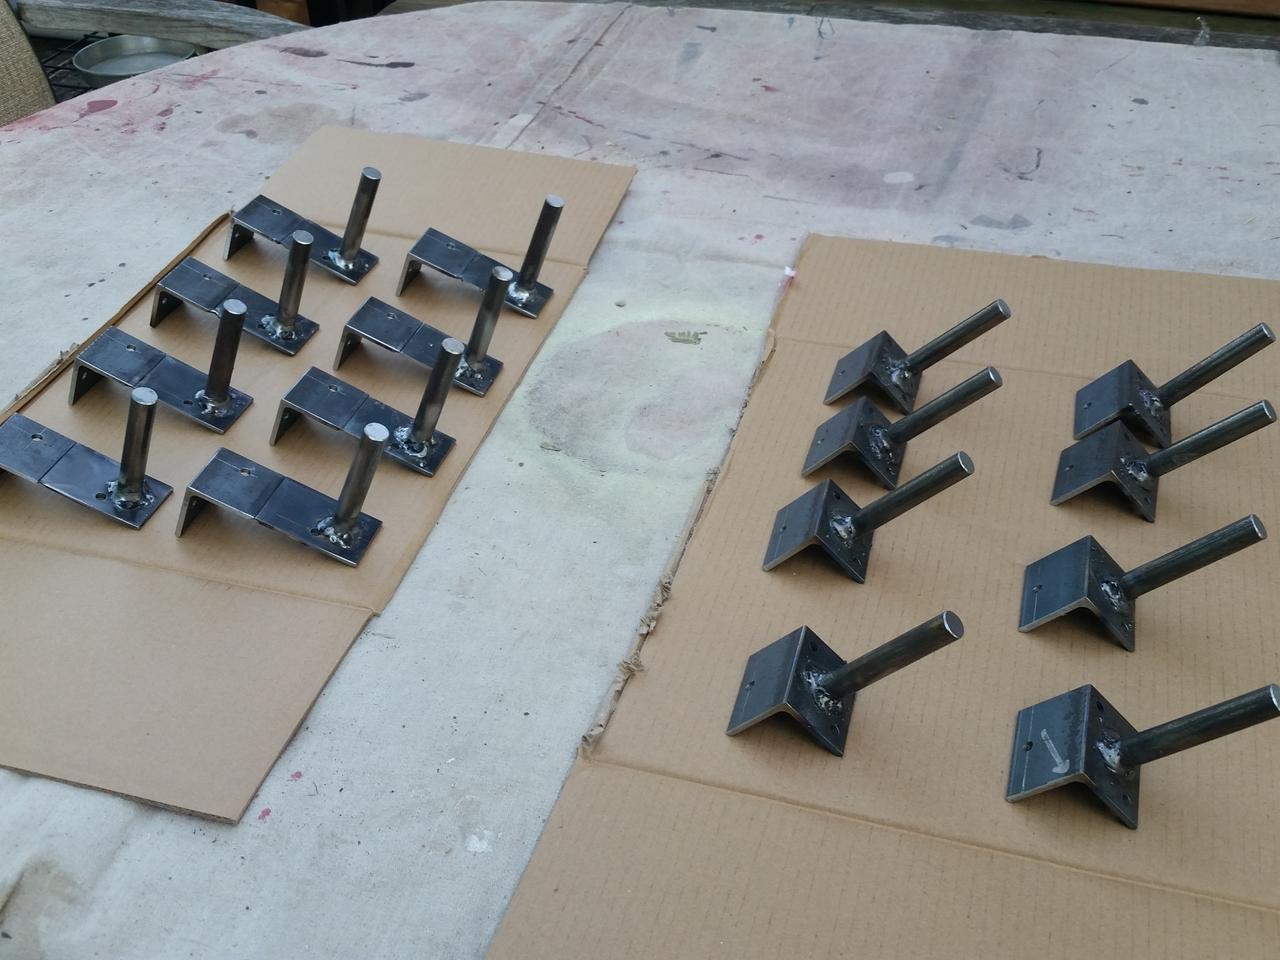
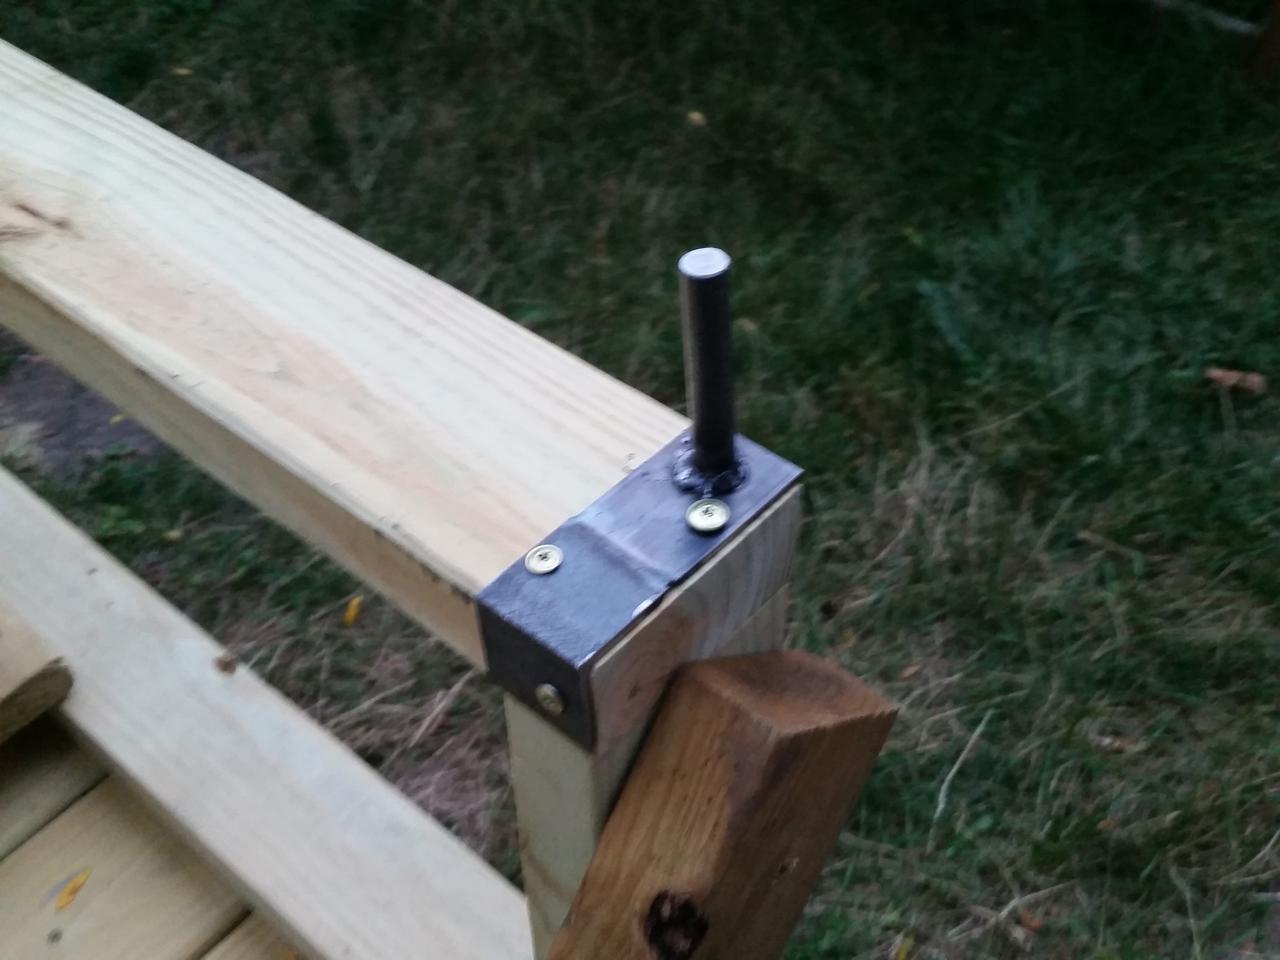
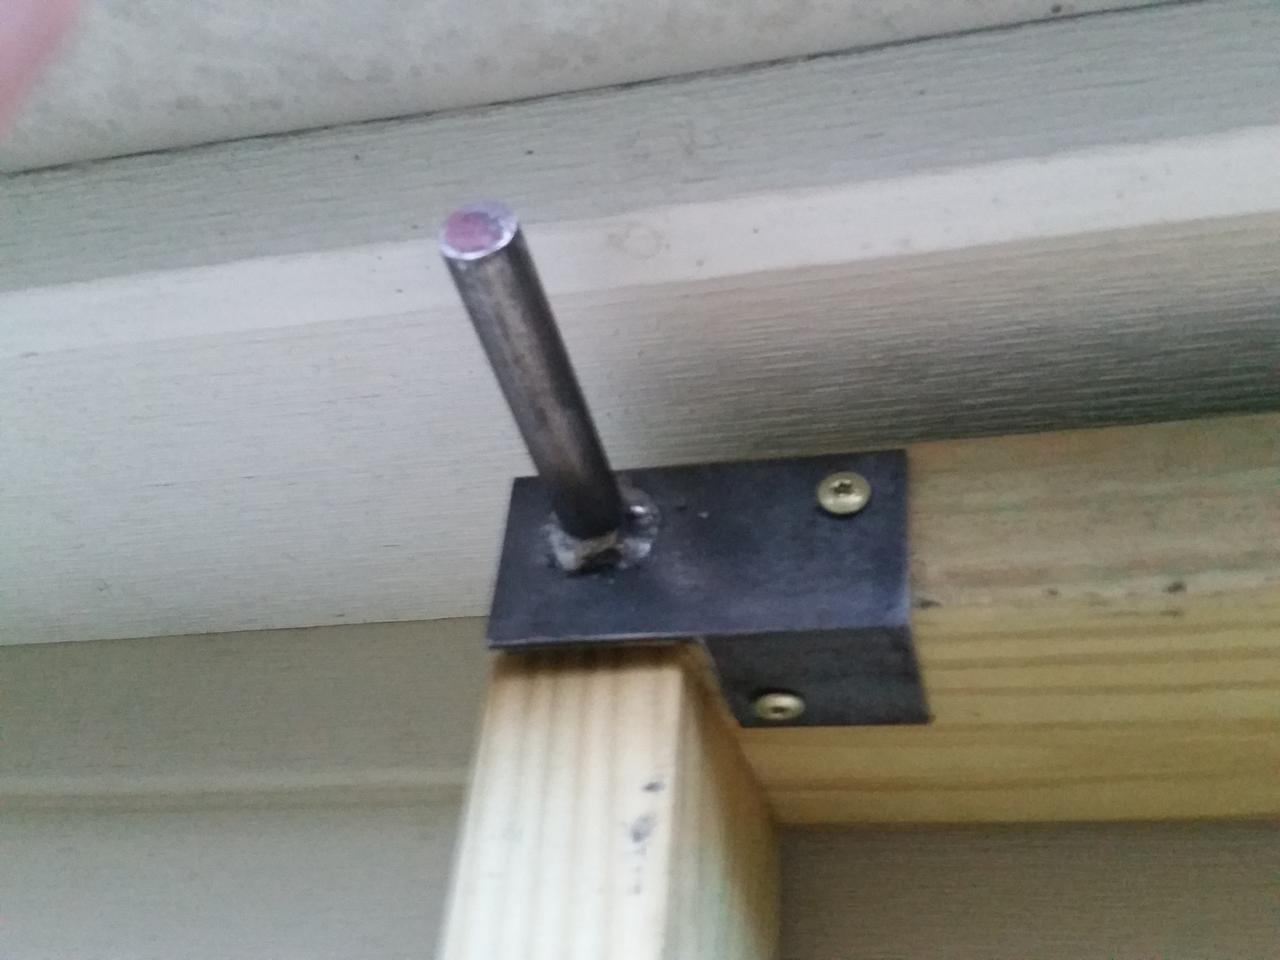
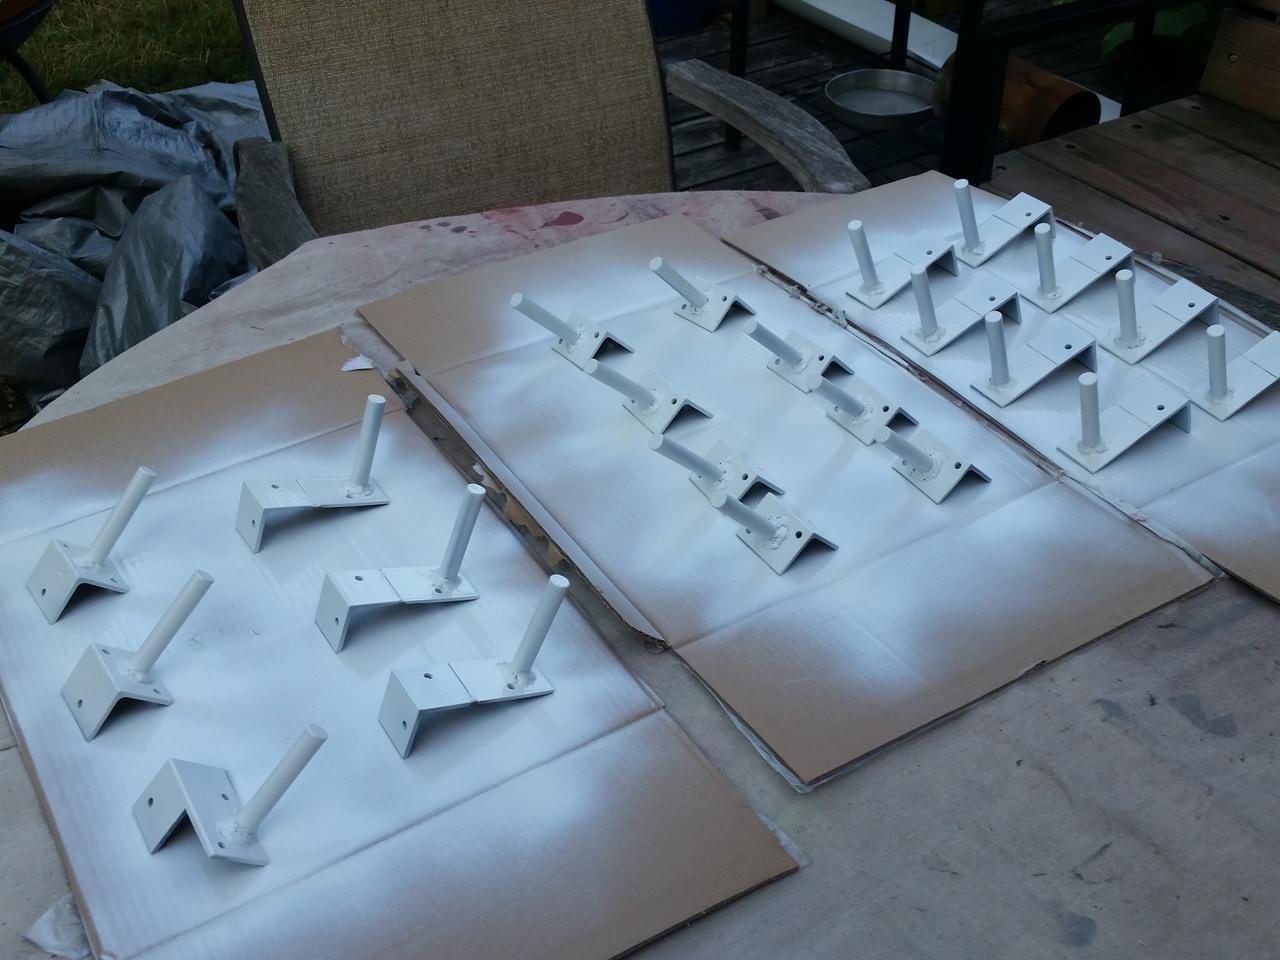
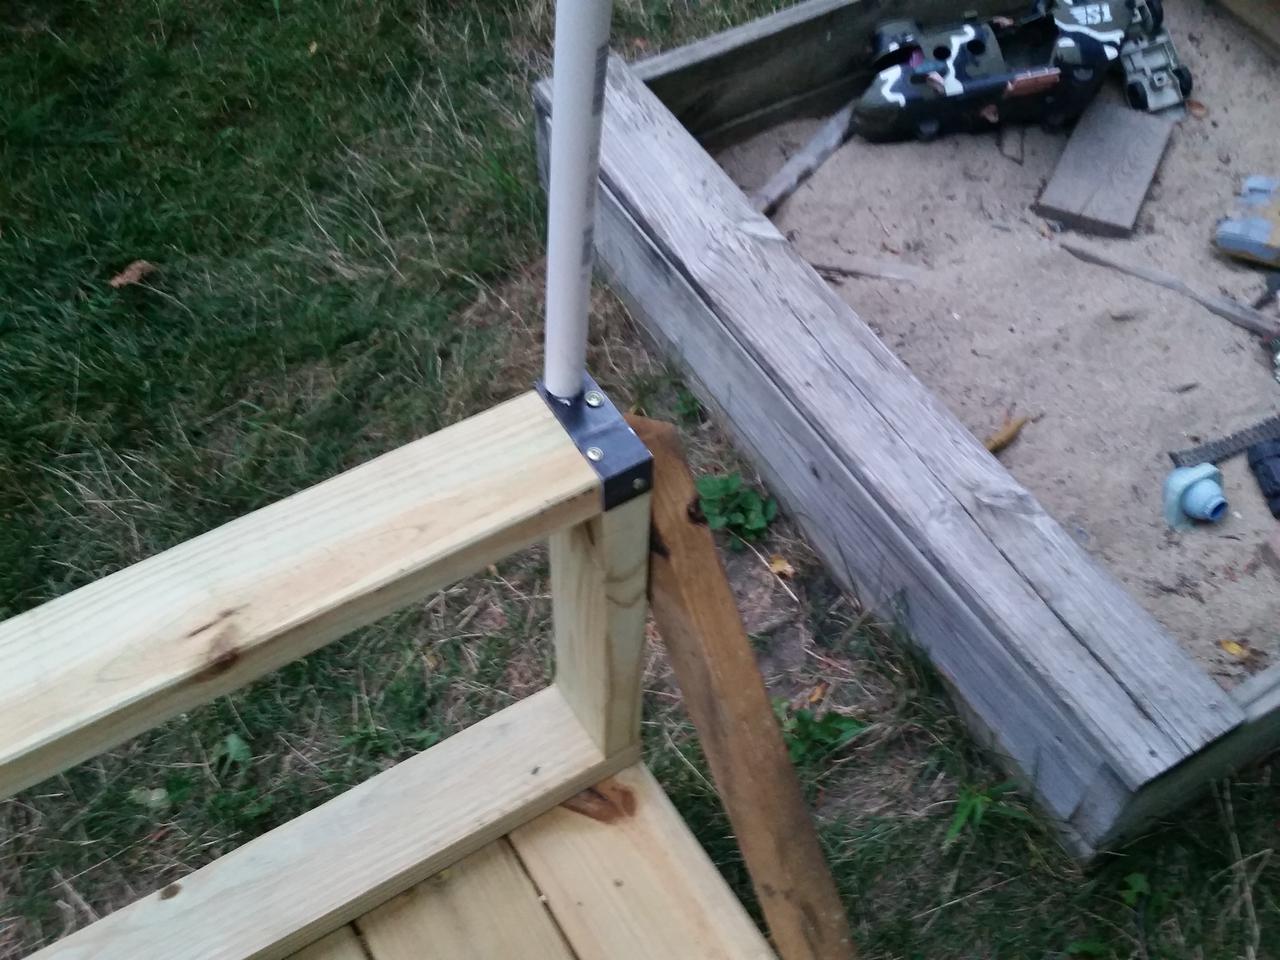
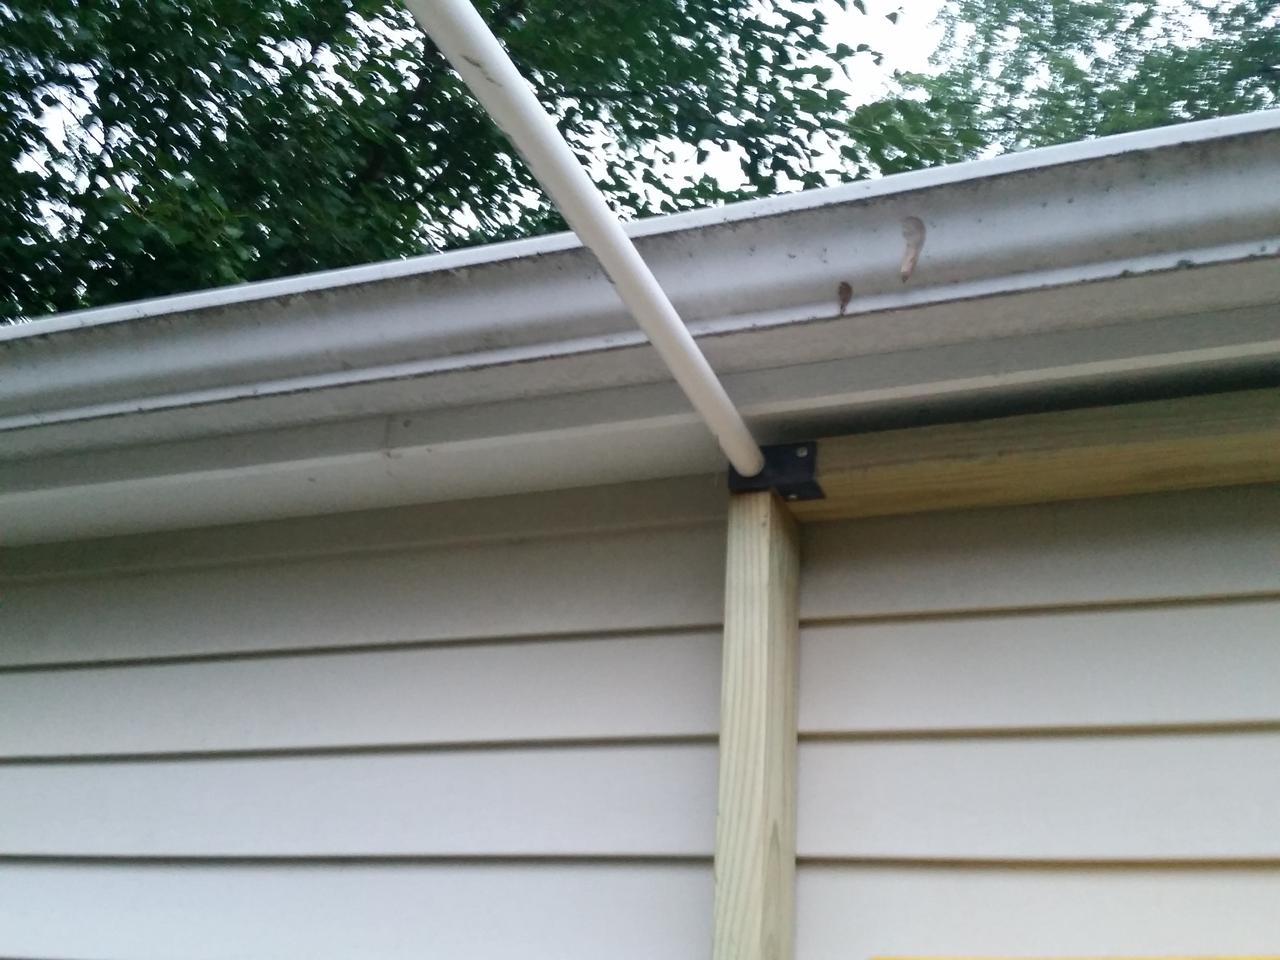
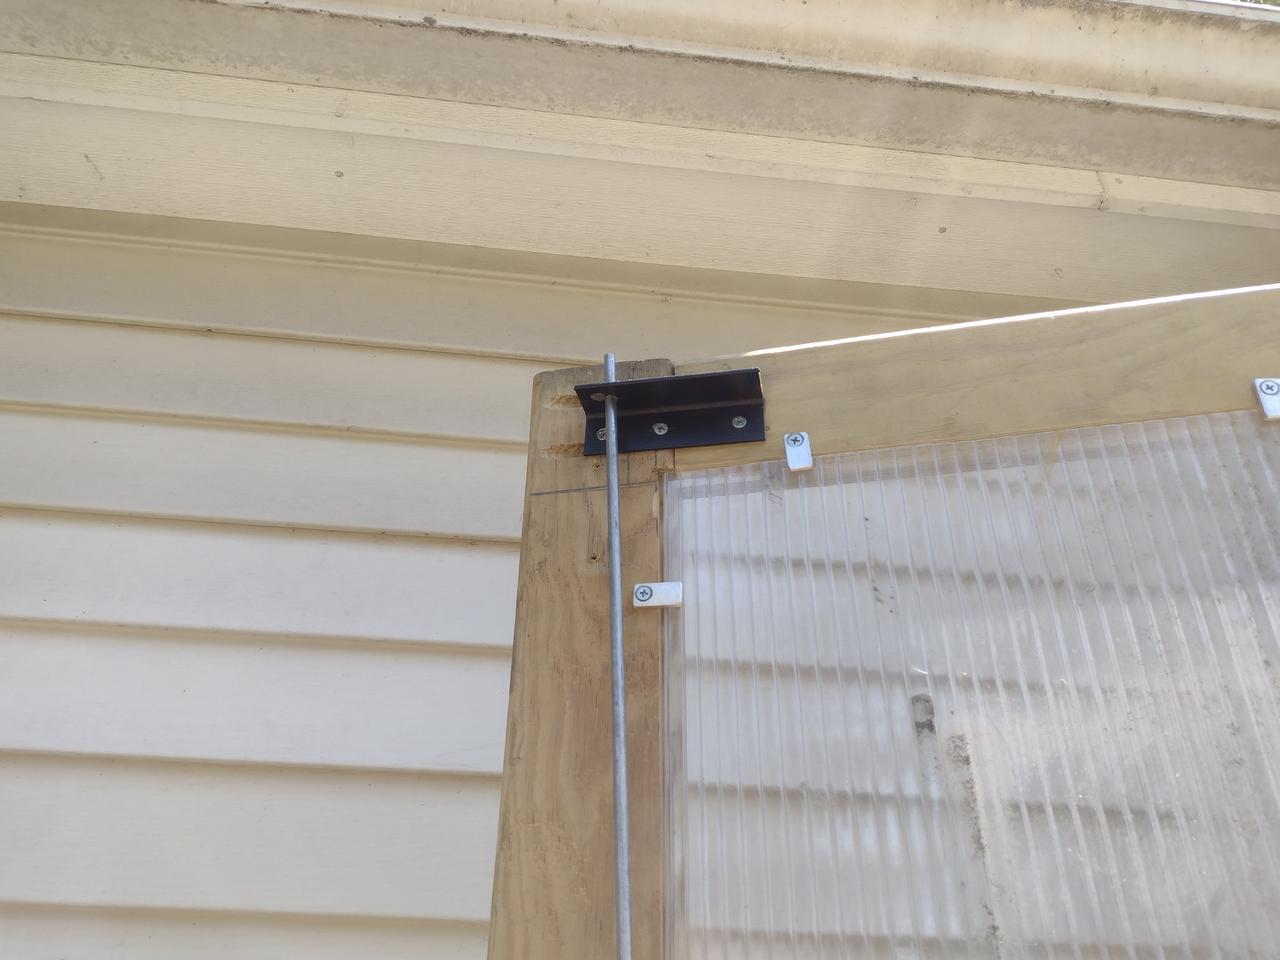
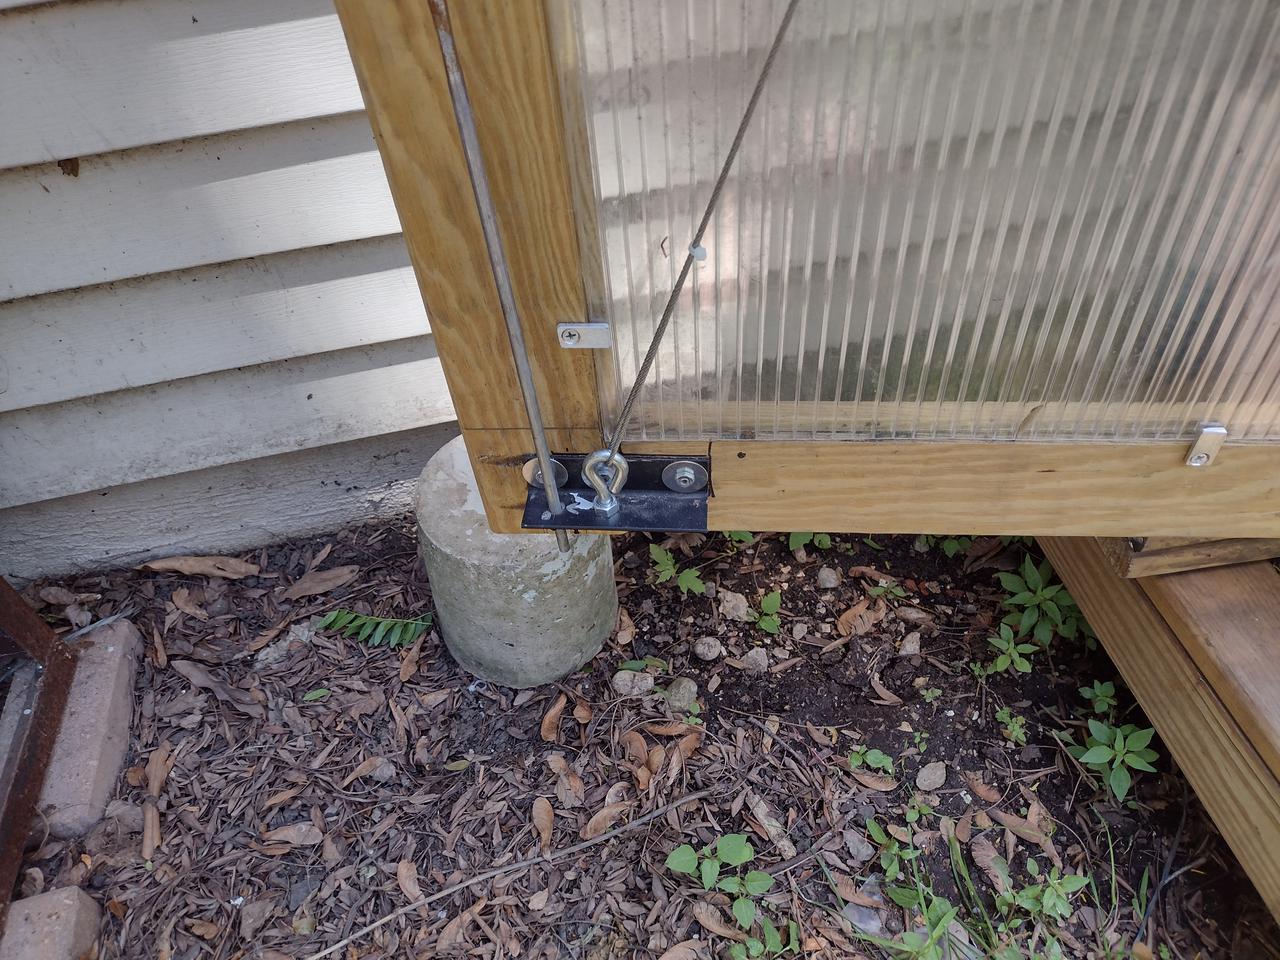
PVC Skeleton and Brackets
One thing I wanted, was a fast and simple way to attach, and potentially replace the pvc-frame. UV-radiation is brutal, and over time, the pvc will deteriorate. I didn't want to break out the hacksaw and start cutting stuff out.
Using scrap-metal, around the shop, I came up with this:
 |
 |
 |
 |
 |
 |
 |
 |
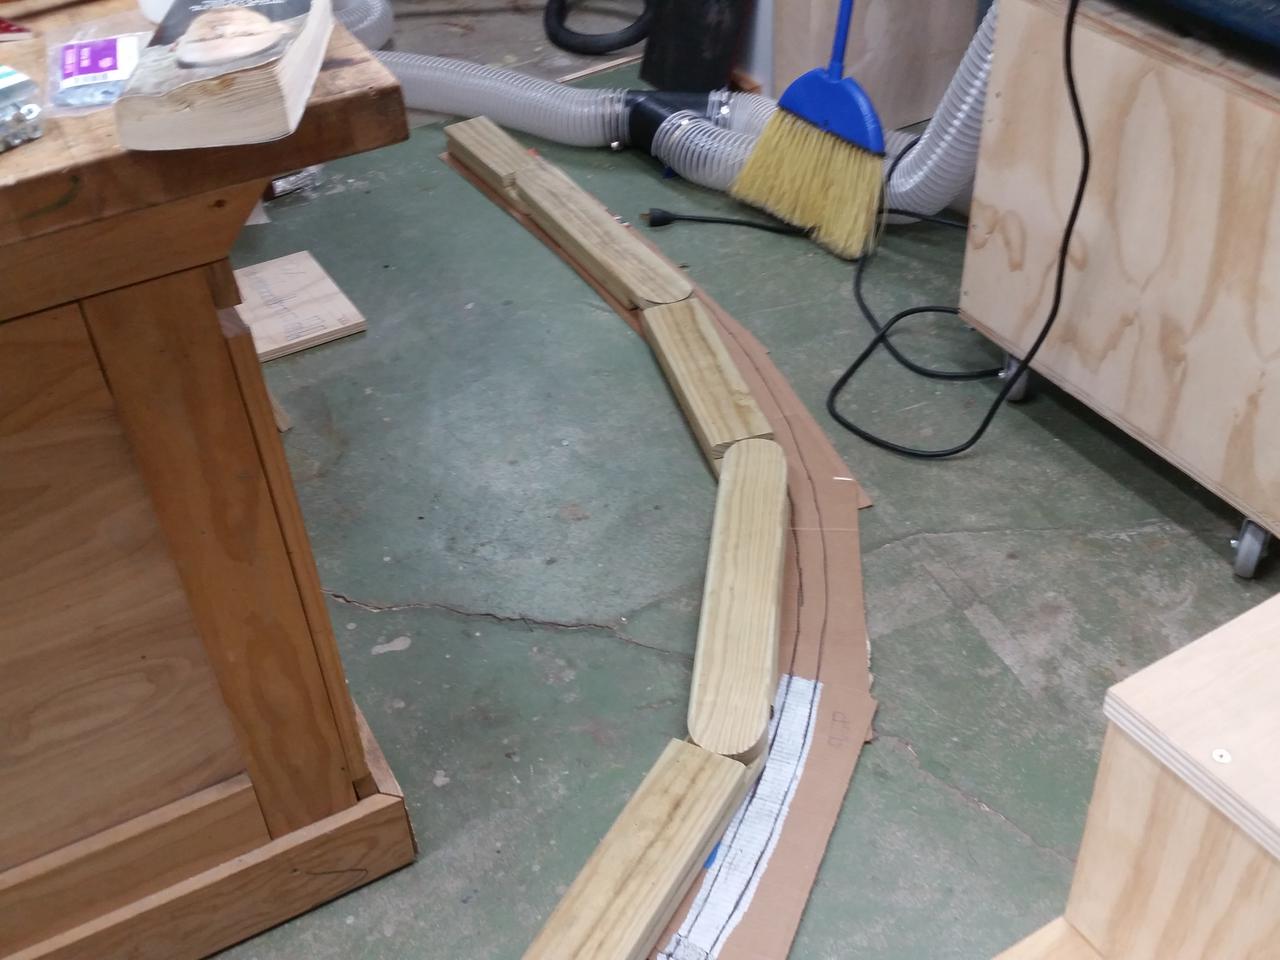
Minor flaw and workaround
One thing I didn't fully plan on was; "how am I going to attach the plastic". I didn't want to rely on duct-tape, and given I've been going through all this trouble, I needed something solid to somehow attach the plastic too.
A simple arch would work, however making one out a single-piece of plywood, would be an expensive proposition. I had a lot of scrap peices laying around, so I opted to make, what I like to call, a variable-arch.
Once it was positioned, my son drove some nails into each pivot, in order to lock it into place.
 |
 |
 |
Not pictured / attached plastic
As mentioned, above, I was trying to figure out a way to attach the plastic without using staples. Additionally I wanted the ability to easily remove and re-tighten, if needed.
Some research on how farmers do it, led me to a C-channel/wiggle-wire approach.
Esentialy you have an extruded aluminium-channel, and the plastic-sheet get's pinched into said channel, using what's called wiggle-wire.
Fun fact: Wiggle-wire is called wiggle-wire, becuase you have to wiggle-it, to get it into the channel.
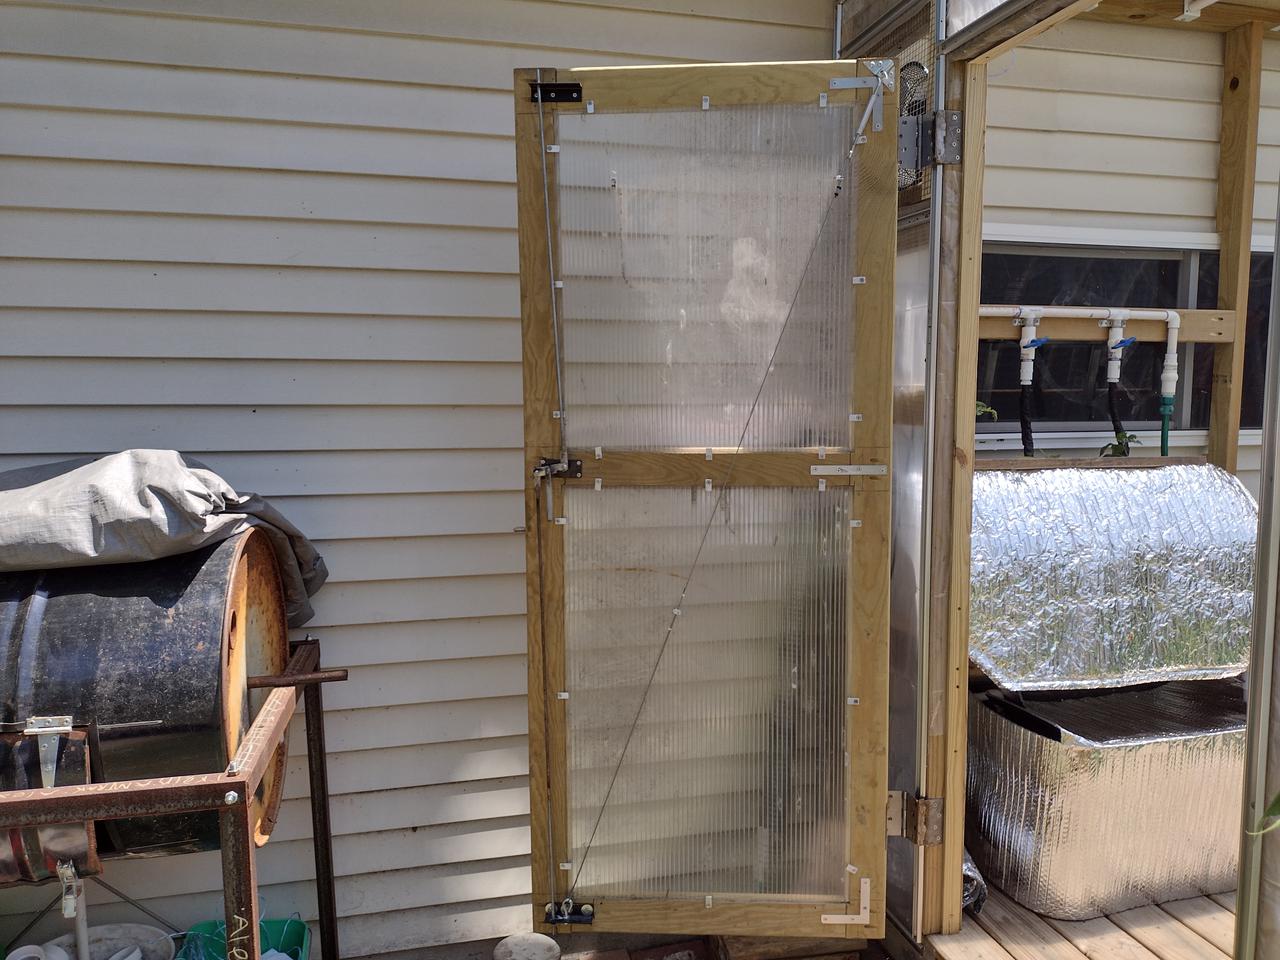
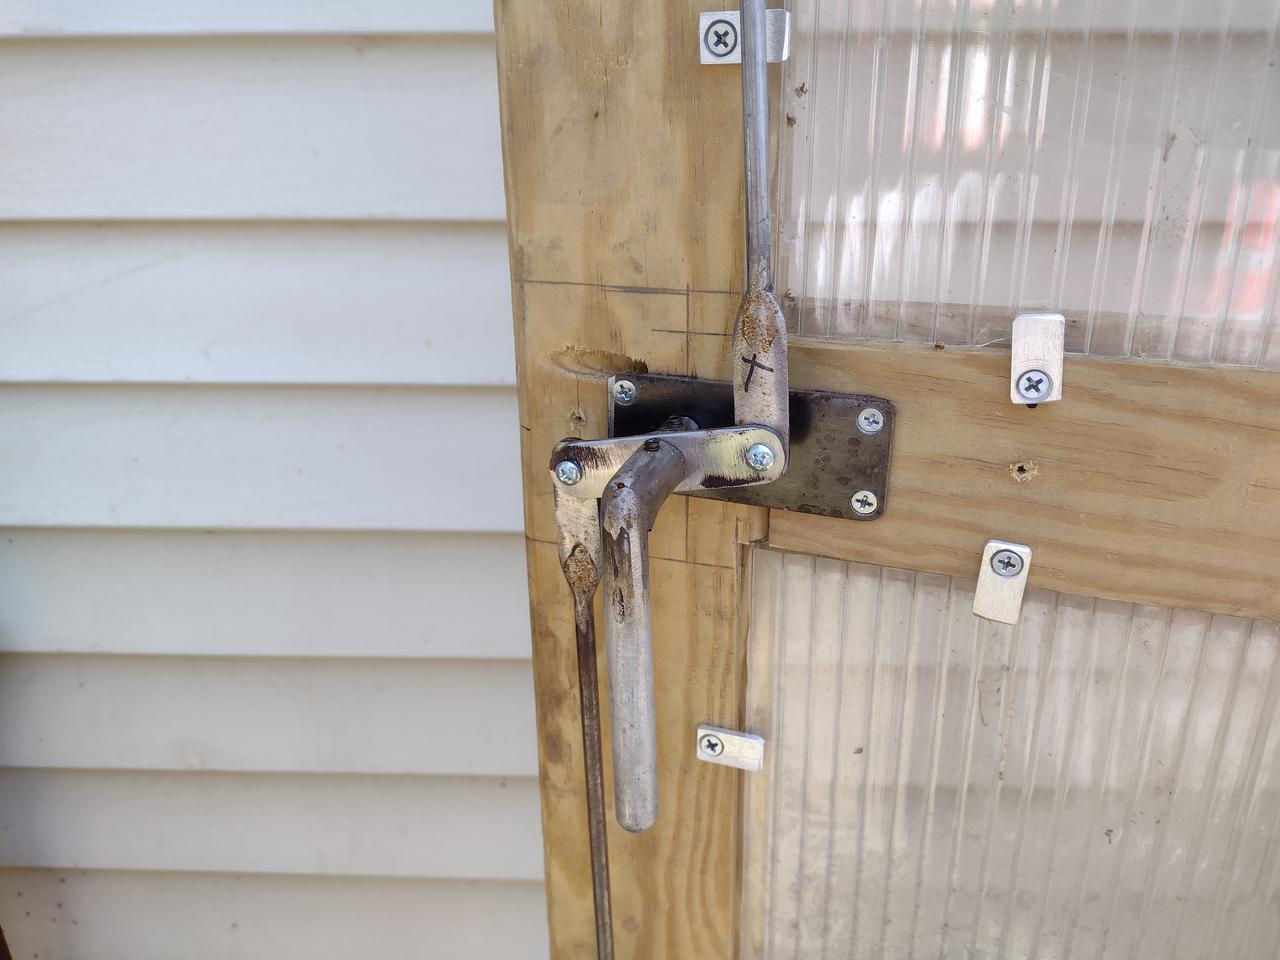
Door / Locking hardware
No magic here either, the door was created out of left-over scrap, from the decking/flooring.
Rather than buying locking-hardware, I opted to fabric a basic-latching-mechanism from scrap metal pieces.
 |
 |
 |
 |
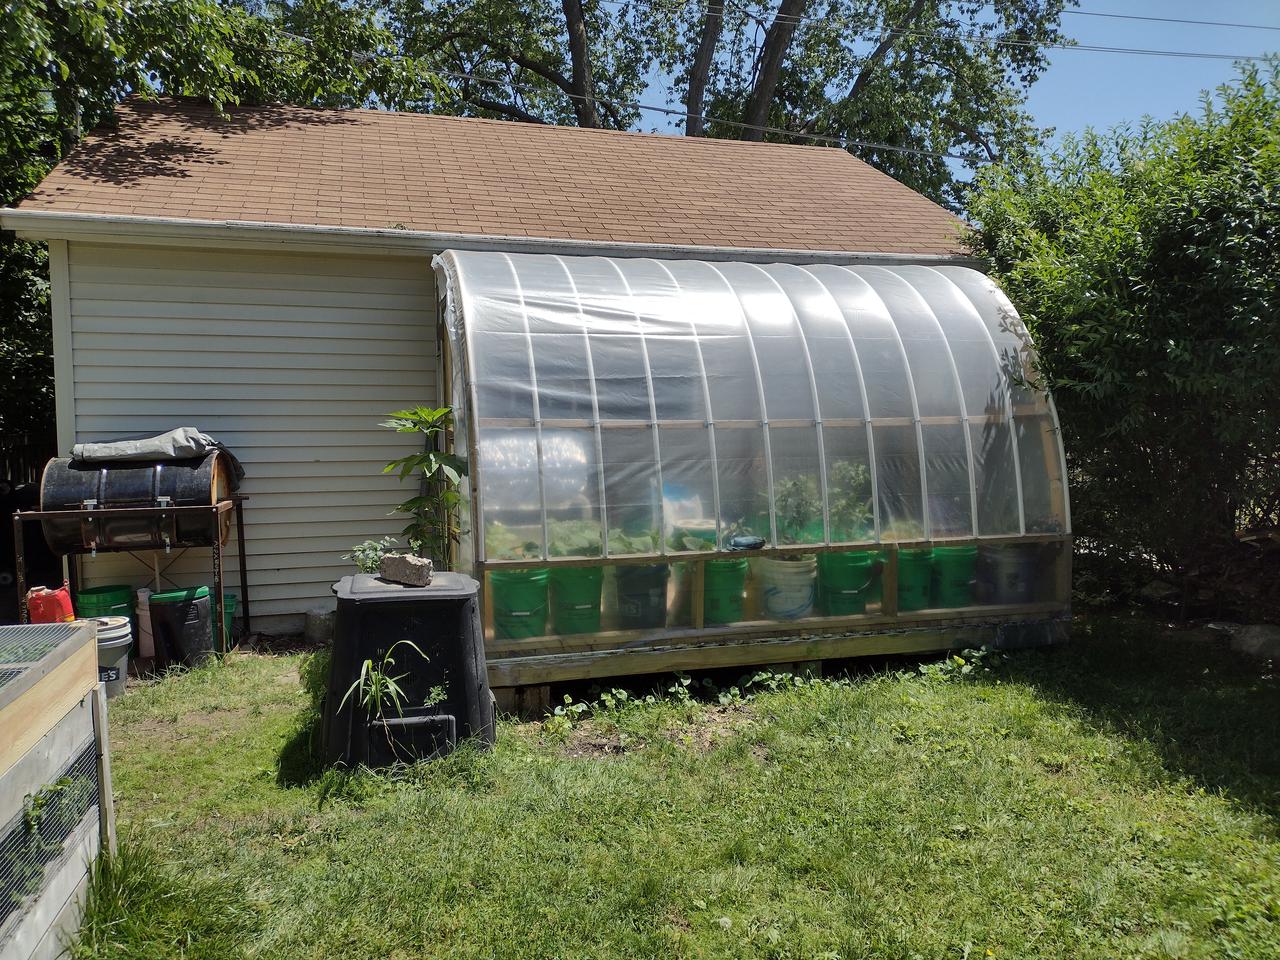
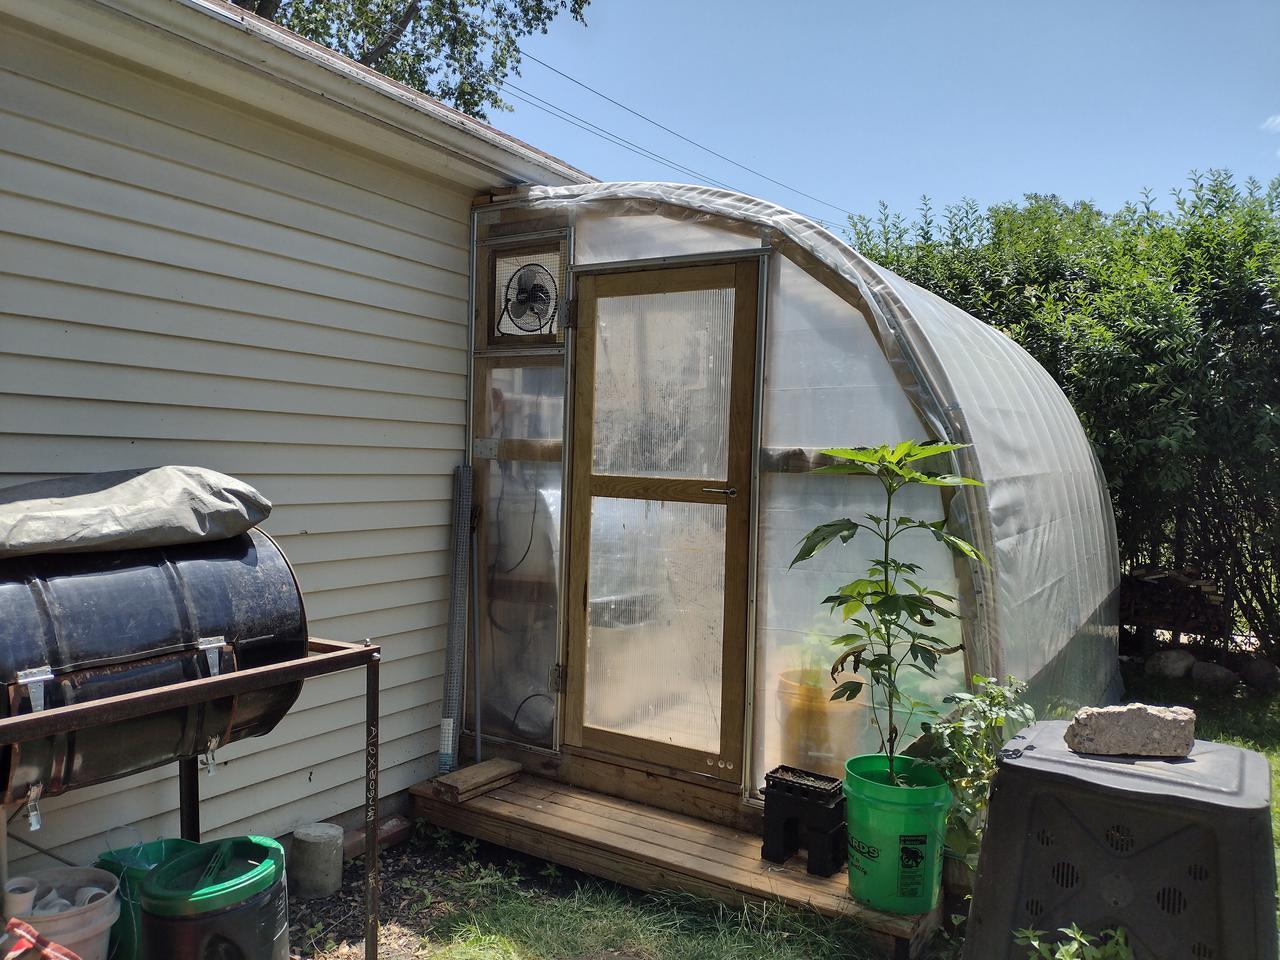
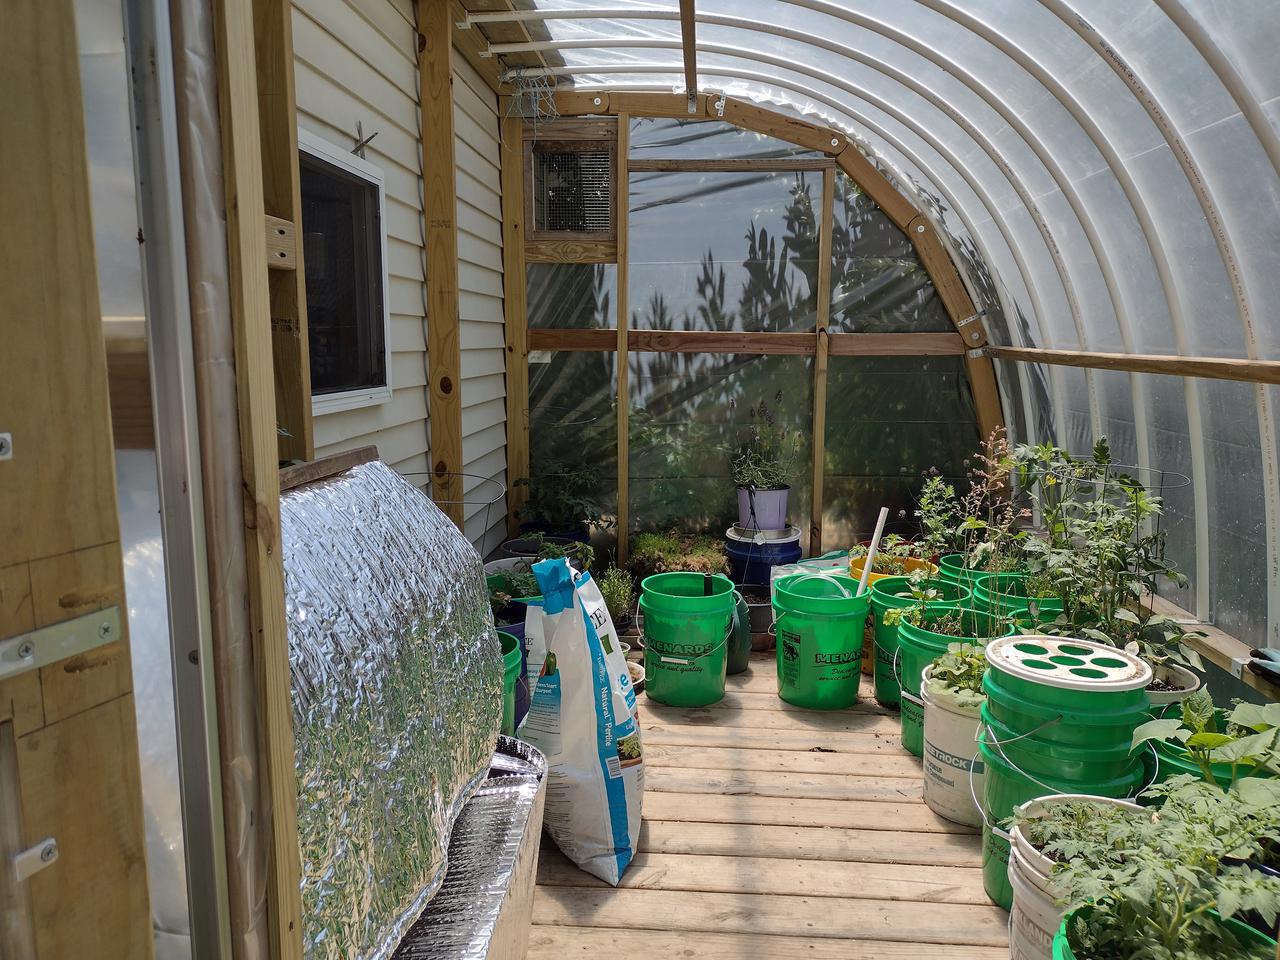
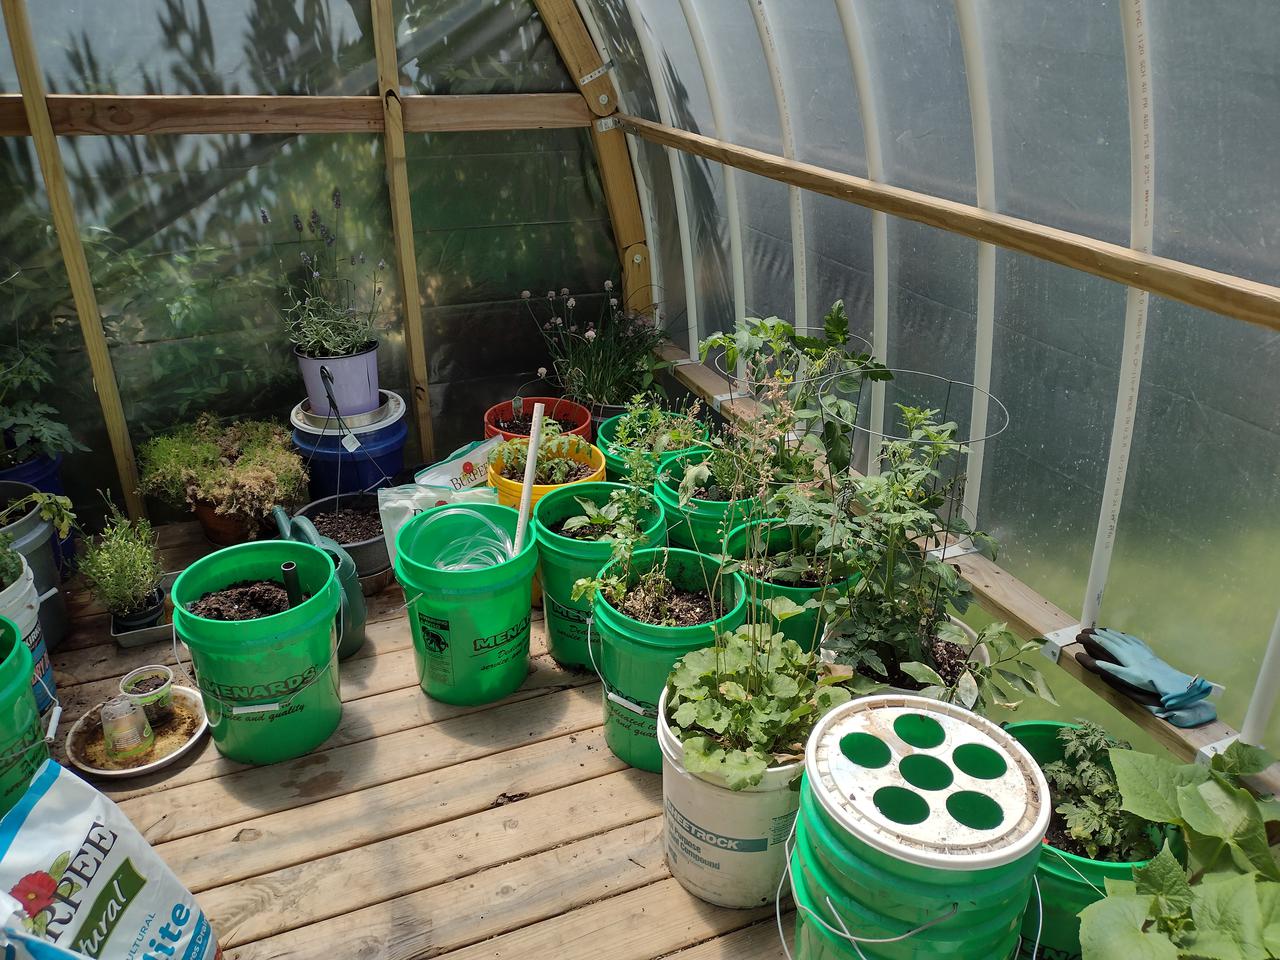
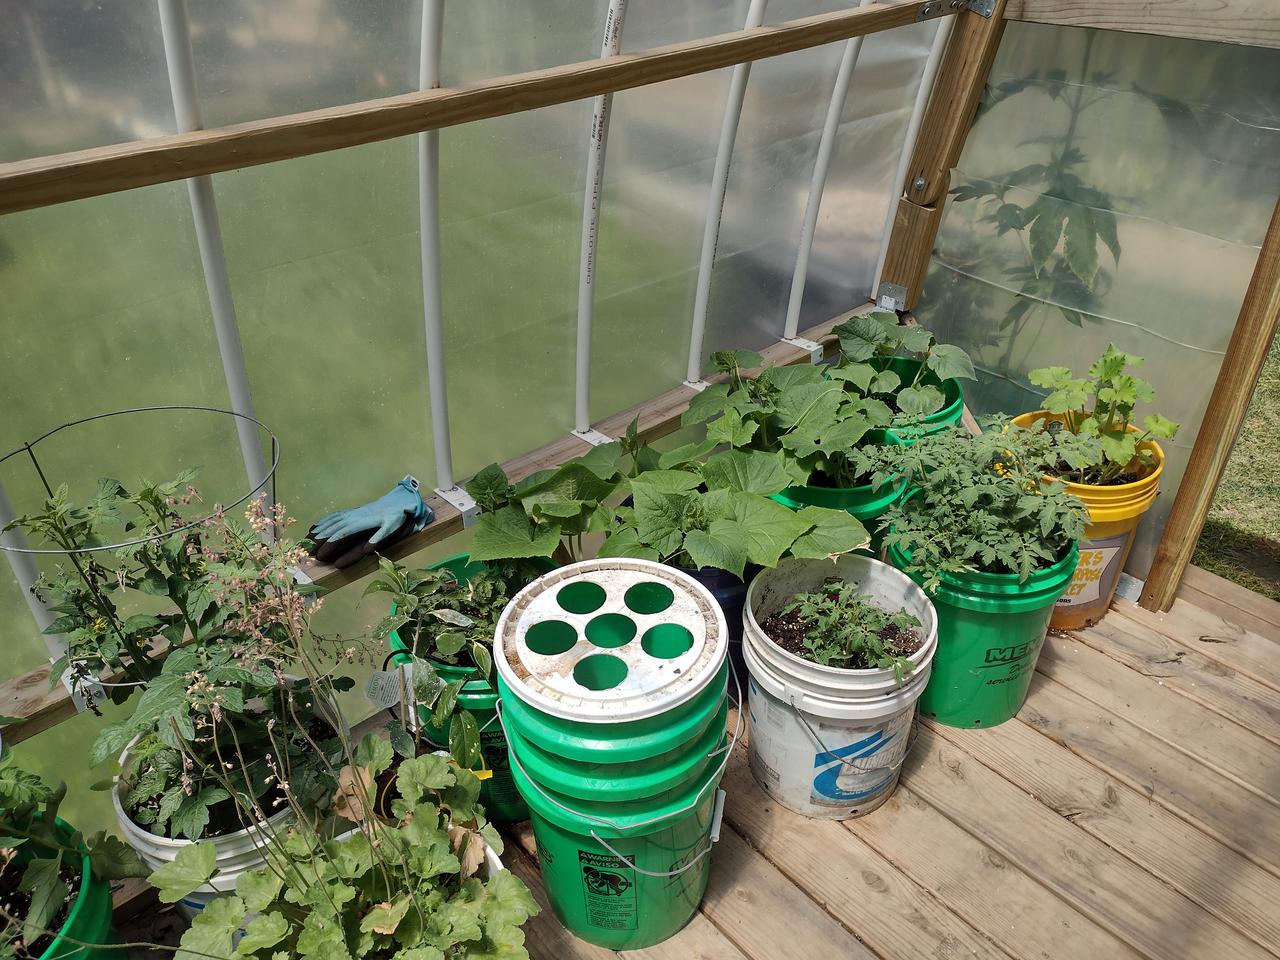
The completed greenhouse
Several months of work... and this is what I've got to show.
 |
 |
 |
 |
 |
What's next?
I'm hoping that this structure, will allow my plants to survive till atleast November. We'll see; seeing that's it mid-October atm.
I've got a few plans and ideas for next year:
Add automated-exhuast-vents; will require modifying the top of the greenhouse.
Expand the hydroponics build.
Add GFCI-electrical outlets, and some lighting.
Have everything running on solar.
Retractable solar-radiation shield; for those high-uv-index days.
Temperature/Humidity monitoring. <Perhaps a Grafana Dashboard>
Automation, automation, automation.
???
Comments